
Last updated September 22, 2026
Full 25-point door and opener safety check with every visit - springs, cables, rollers, tracks, and your LiftMaster or Chamberlain opener included
You get a price before we start. It does not change when the truck arrives.
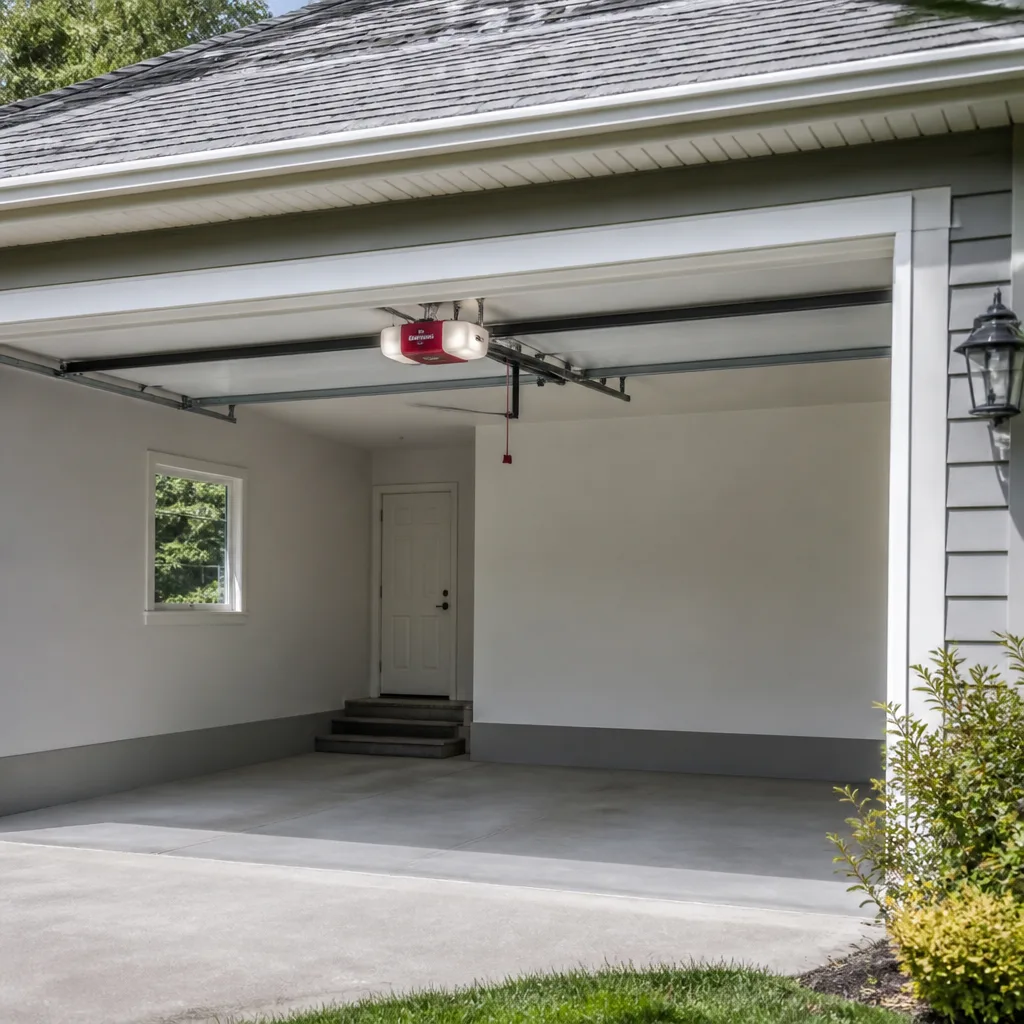
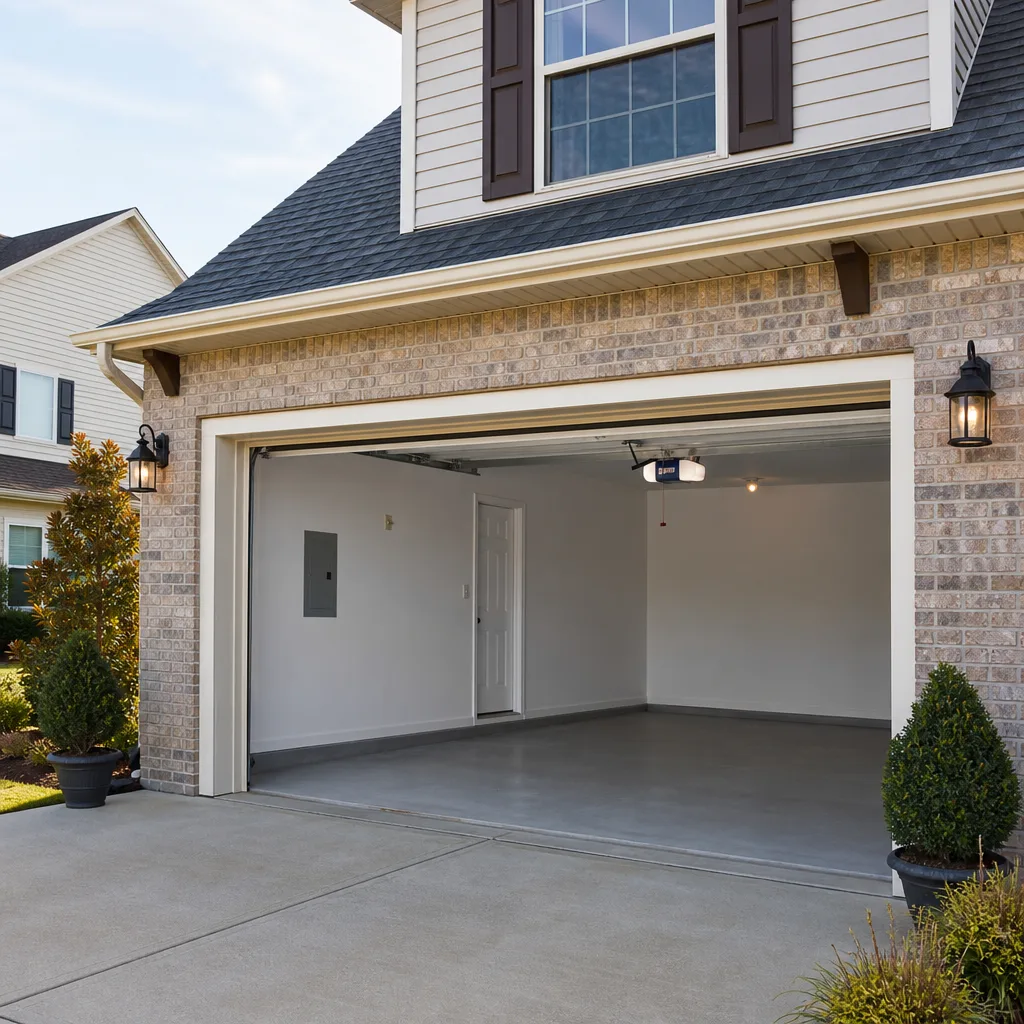
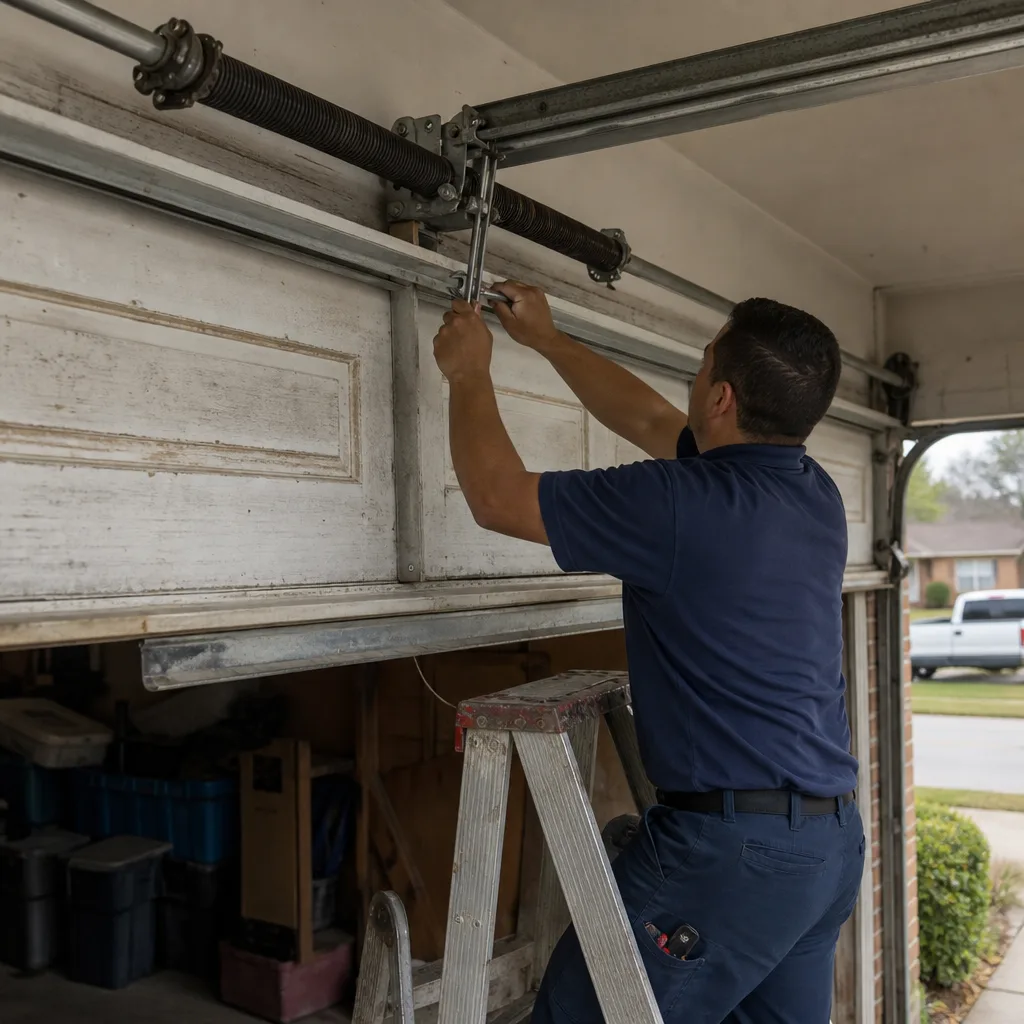 Before
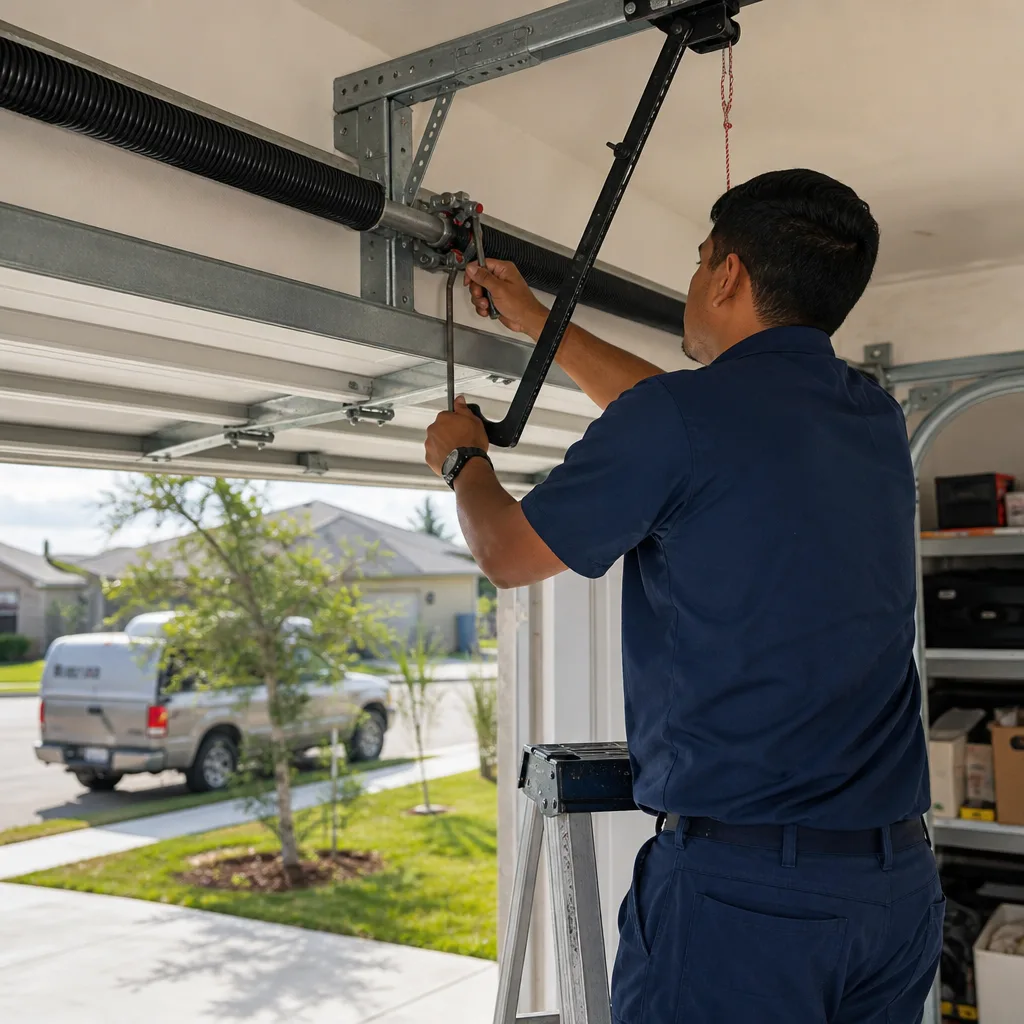 After
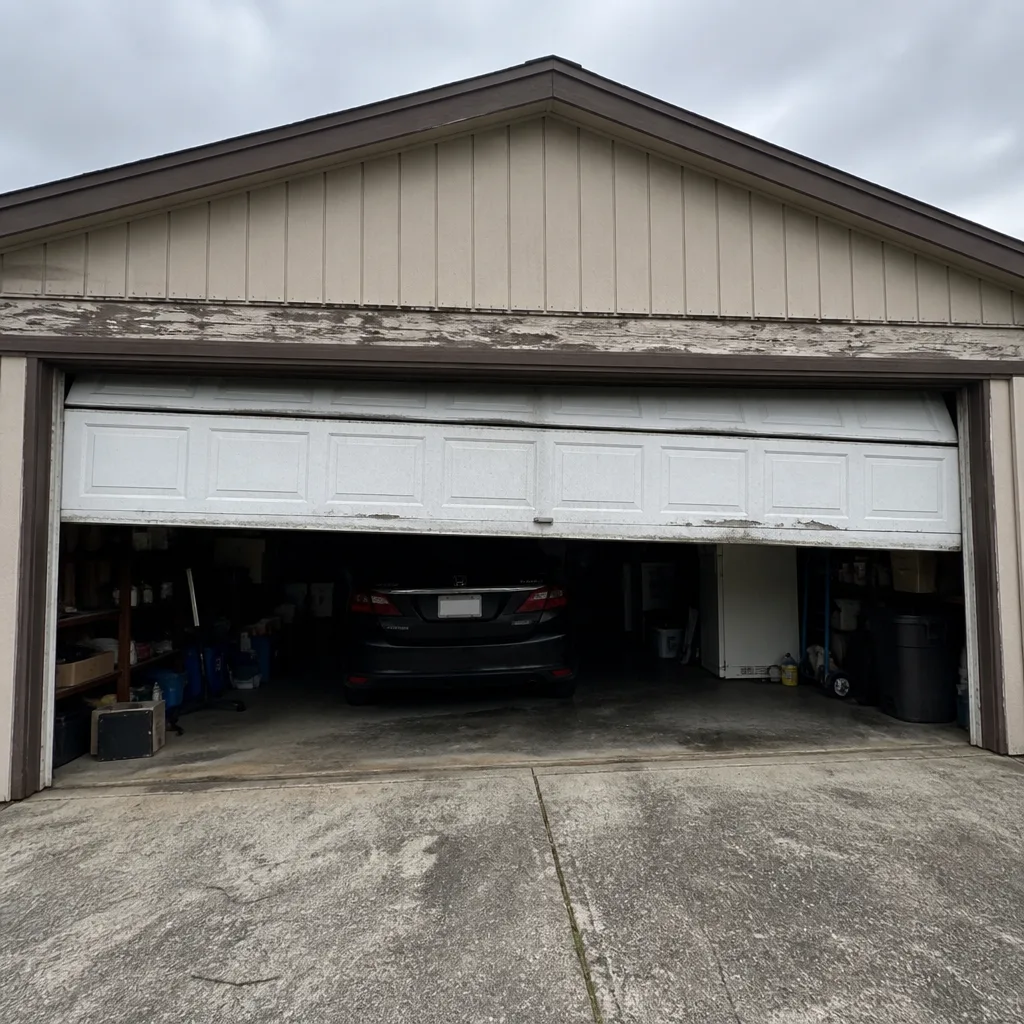 Before
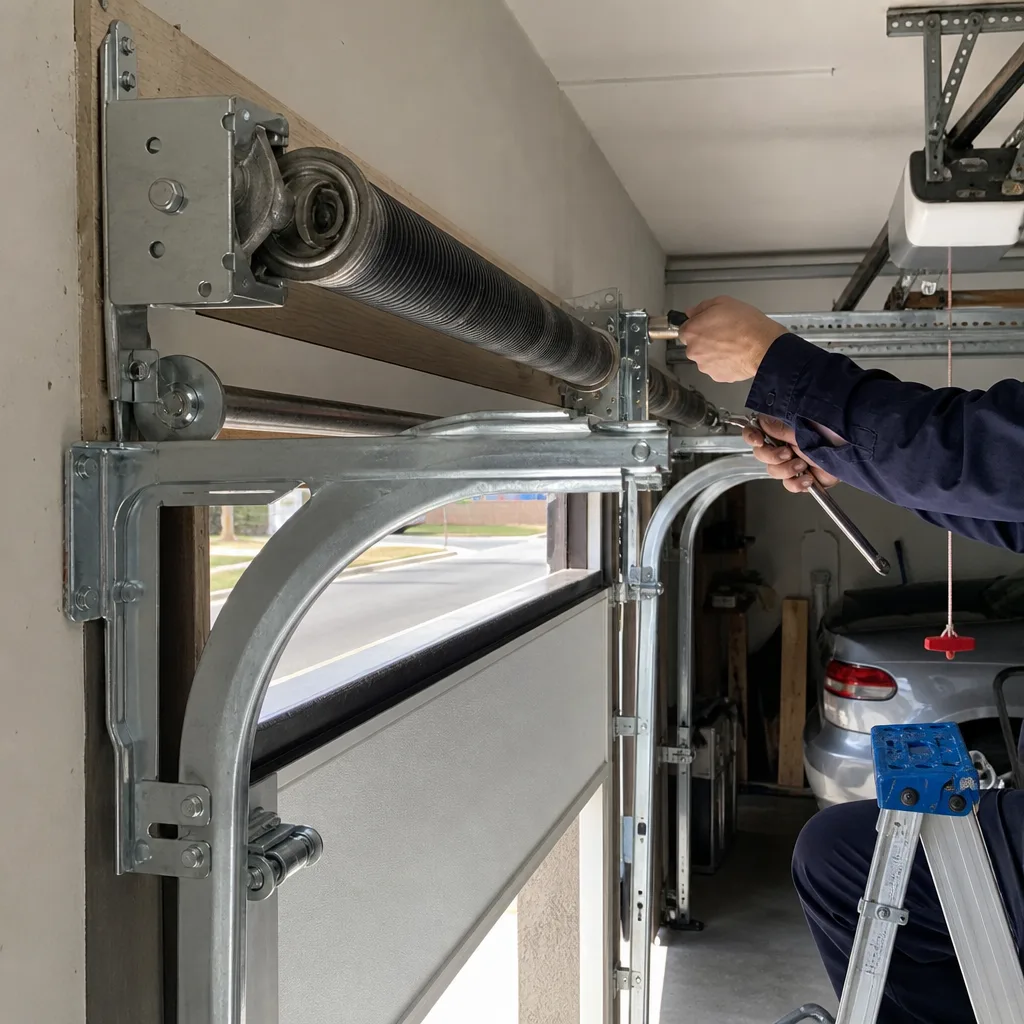 After
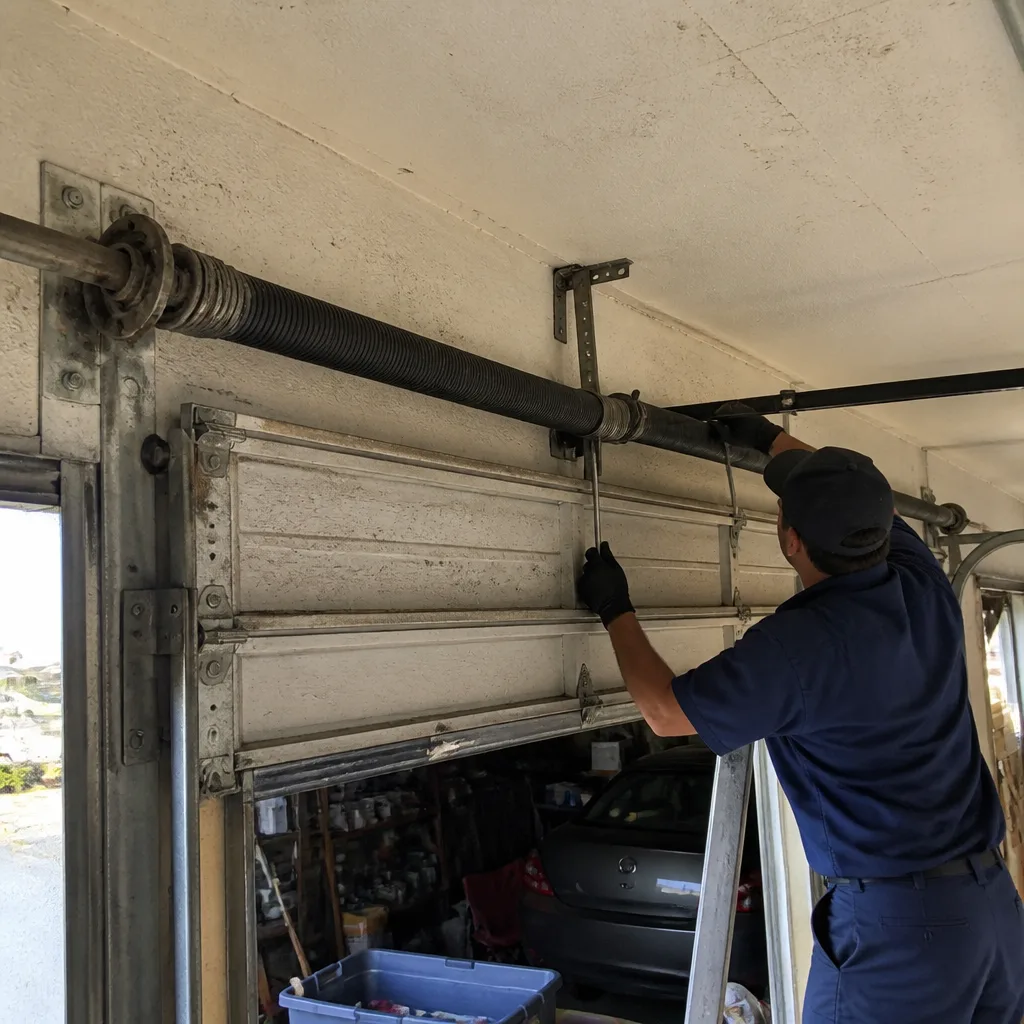 Before
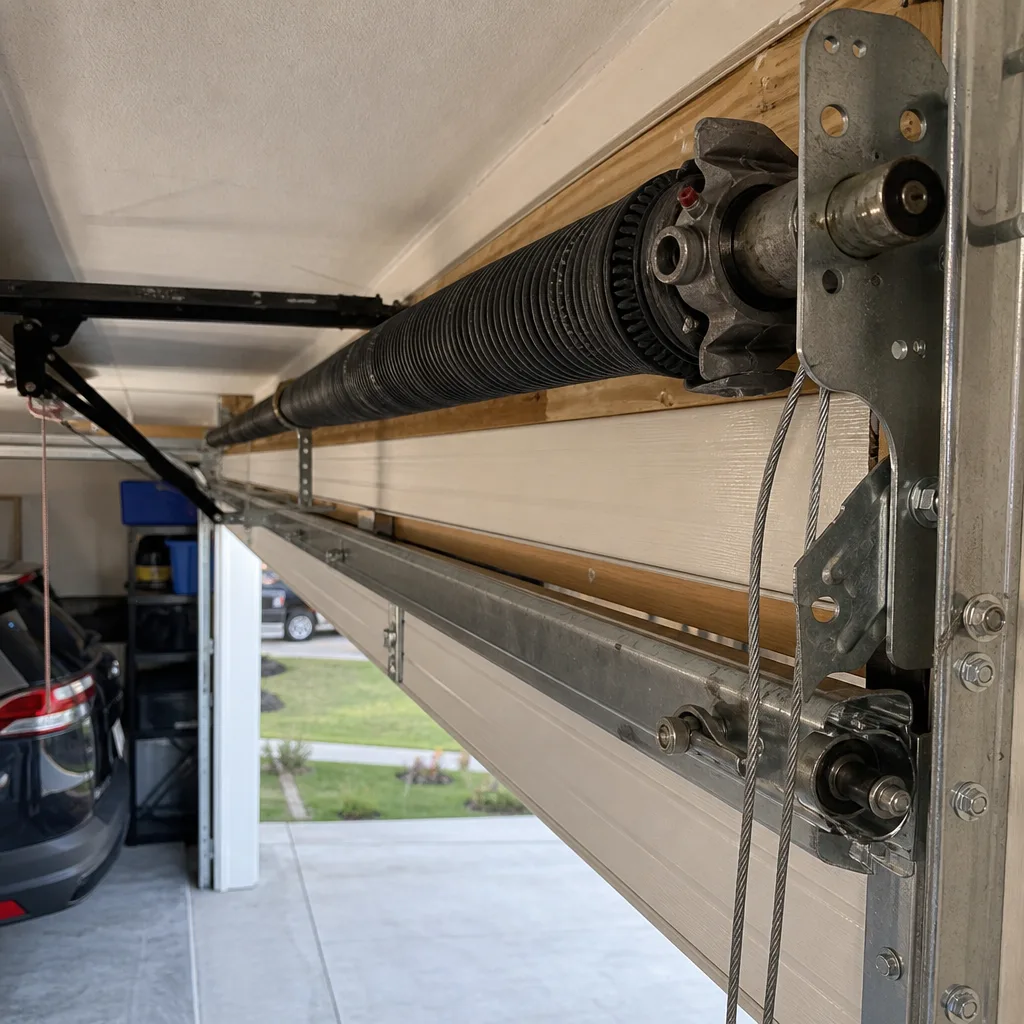 After
Garage Door Repair Maintenance Checklist for Texas City Homeowners
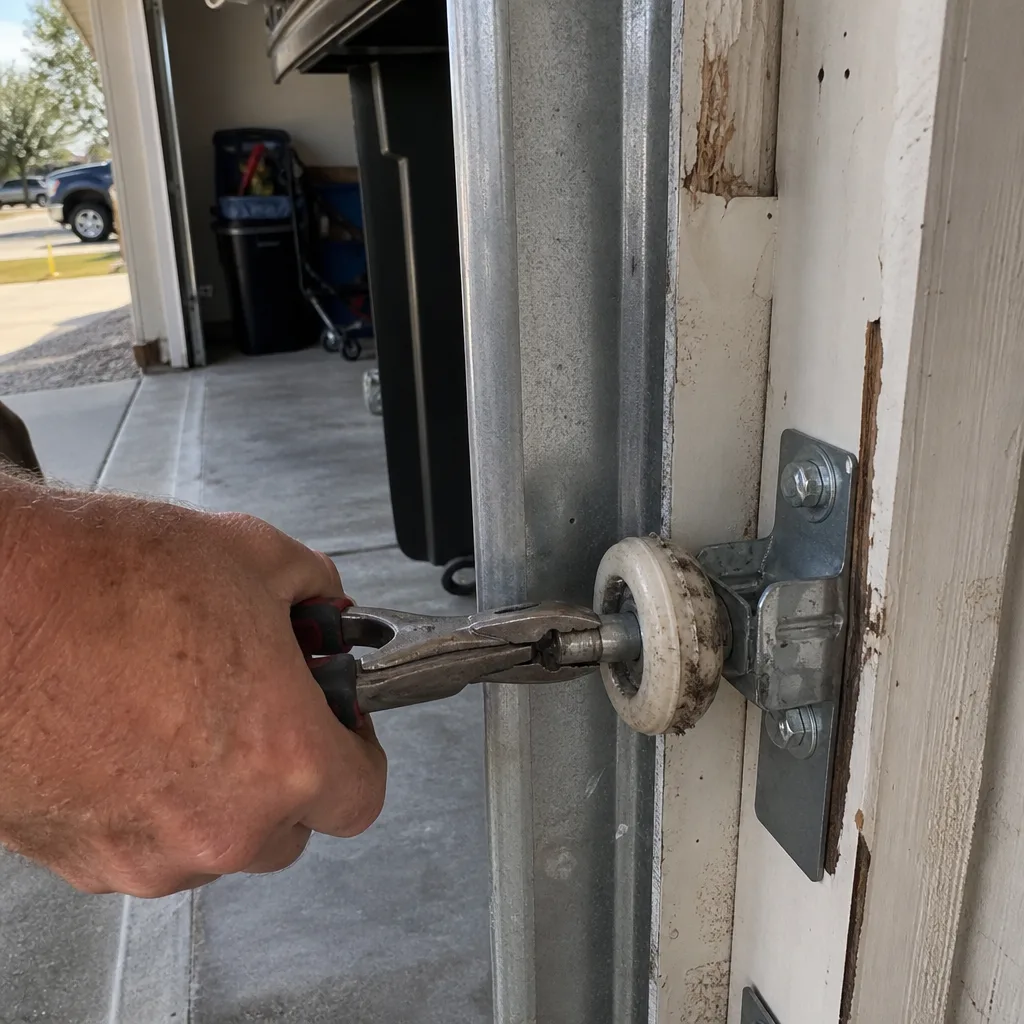
The number-one item on most maintenance checklists is “lubricate the chain.” But on a Texas City door that sat through a wet summer in Bayou Vista or on the north side near Moses Lake, the hinge pins have already rusted past the point where lubrication helps. We’ve opened 18,000+ garage doors since 2015, and the pattern is consistent: coastal humidity and salt air attack hardware before anything else. This checklist is organized by the actual failure sequence we see in Texas City service calls, not by calendar month. You’ll learn which components fail first, how to inspect them without creating new problems, and how to build a documented record that protects your warranty and your home value.
Quick Answer
A proper garage door maintenance checklist for Texas City homeowners prioritizes corrosion-prone hardware first (rollers, hinges, and track brackets), then spring tension and balance, then bottom seal integrity against flooding and UV damage. For professional help with any of these issues, see our Garage Door Repair services. Inspect every 90 days during humid months, use silicone-based lubricant on salt-exposed metal, and document findings with photos and dates. Never attempt to adjust or release torsion springs yourself.
Table of Contents
- The Coastal Failure Sequence: Why Texas City Doors Fail Differently
- Step 1: Inspect Rollers and Hinges First
- Step 2: Test Spring Tension and Balance
- Step 3: Bottom Seals and Flood-Prone Lots
- Step 4: Tracks, Lubrication, and What Not to Use
- Step 5: Opener, Safety Sensors, and Force Settings
- Building Your Documented Record
- Common Mistakes to Avoid
- When to Call a Professional
- Frequently Asked Questions
BeforeAfterThe Coastal Failure Sequence: Why Texas City Doors Fail Differently
Most garage door maintenance guides assume a four-season climate where thermal cycling, the repeated expansion and contraction from hot summers to freezing winters, is the primary stressor. Texas City doesn’t work that way. Our Gulf Coast climate creates a different failure mode entirely, one that standard checklists miss.
The sequence we document on service calls runs like this:
- Corrosion seizes hardware. Salt air from Galveston Bay, combined with humidity that regularly exceeds 85 percent from May through October, attacks unprotected steel. Hinge pins and roller shafts develop surface rust within 18 months of installation if not properly maintained. In neighborhoods near Moses Lake or along the bayfront, we’ve seen roller bearings freeze solid in under a year.
- Seized hardware overloads springs. When hinges and rollers don’t move freely, the garage door opener works harder and the torsion spring absorbs uneven load. Springs rated for 10,000 cycles fail at 6,000 or 7,000. The customer calls about a broken spring, but the root cause was corrosion three feet away.
- UV and flood damage compromise seals. Texas City’s intense summer sun degrades rubber and vinyl bottom seals. Meanwhile, properties in low-lying areas, particularly in older neighborhoods south of 25th Avenue, experience periodic street flooding that submerges the seal and accelerates deterioration. A failed seal lets water, insects, and debris into the garage, and eventually damages the bottom panel itself.
This sequence matters because it determines inspection priority. Lubricating a chain while hinge pins are rusting is like waxing a car with a flat tire. The work is technically correct but misses the actual problem.
Our Garage Door Repair in Texas City team sees this pattern weekly. The documentation we provide under Clause 4 of The Haven Standard, the photographed failed component before any quote, consistently traces spring failures back to hardware corrosion that went unaddressed.
Step 1: Inspect Rollers and Hinges First
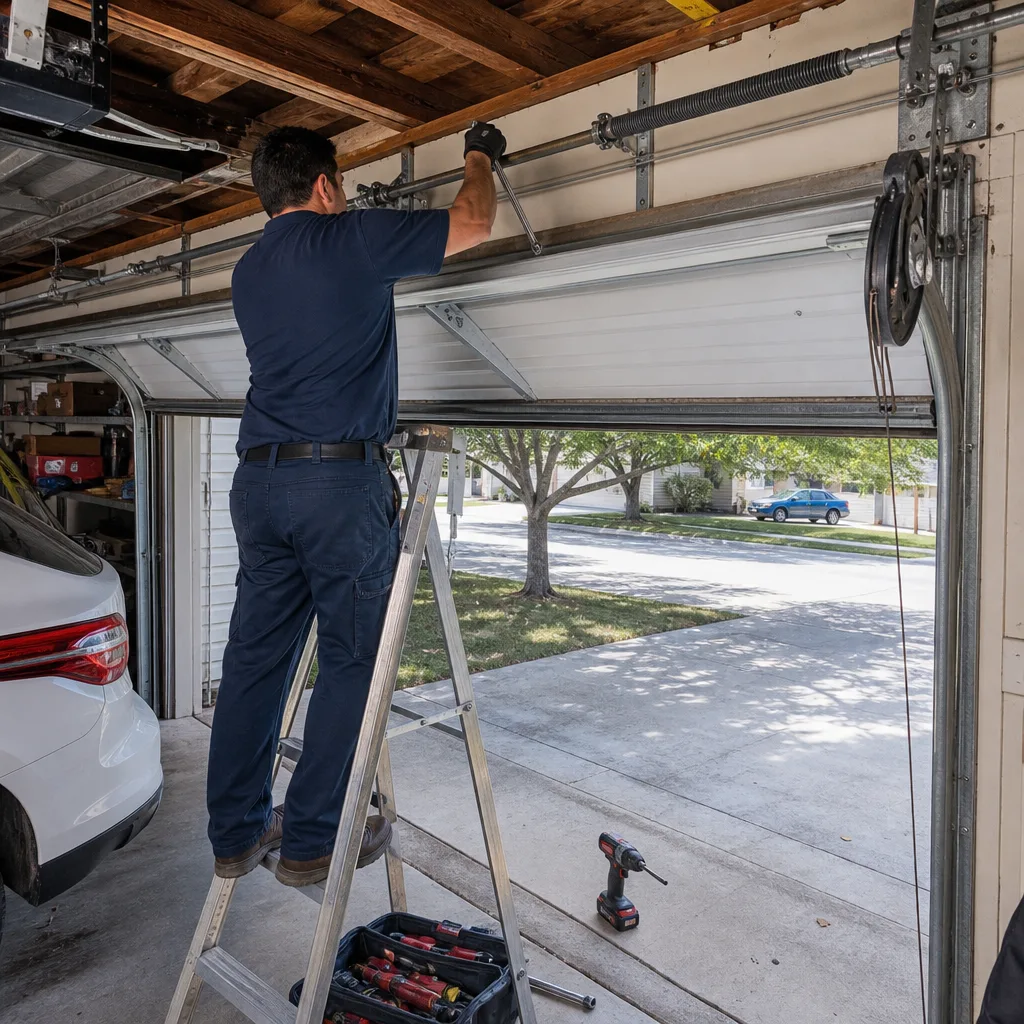
Start here. Every time. In Texas City’s climate, this is where problems begin.
What You’ll Need
- Flashlight (your phone light works)
- Silicone-based garage door lubricant, not WD-40
- Rag or paper towels
- Camera or phone for documentation
The Inspection Sequence
- Disconnect the opener. Pull the red emergency release cord with the door fully closed. This puts the door in manual mode so you can move it by hand without motor interference.
- Lift the door halfway and release. A properly balanced door should stay in place or drift slowly. If it slams down or rockets up, note this for the spring section below. Do not proceed with hardware inspection on an unbalanced door; call a professional.
- Inspect each roller. Look for:
- Steel rollers: rust on the shaft, worn or flattened bearings, wobble in the track
- Nylon rollers: cracked or chipped wheels, loose stems, missing bearings
- Any roller that doesn’t spin freely when you rotate it by hand
- Inspect each hinge. Hinges connect the door sections and allow the door to bend around the track curve. Check for:
- Rust on the hinge pin or between hinge leaves
- Loose or missing bolts at the panel attachment points
- Cracks in the hinge body, especially on older doors
- Stiffness when you manually flex the hinge
- Check track brackets and fasteners. The vertical and horizontal tracks are held by brackets bolted to the wall and ceiling framing. In Texas City’s humid environment, these fasteners loosen as wood expands and contracts. Look for:
- Bracket bolts that turn by hand
- Gaps between bracket and wall
- Rust streaks running from fasteners, indicating water has been present
What to Do With What You Find
Light surface rust on hinge pins: clean with a rag, apply silicone lubricant, work the hinge through its full range of motion, wipe excess. Heavy rust, pitting, or seized movement: replace the component. Lubrication won’t restore metal that’s already lost mass to corrosion.
We replace rollers and hinges on Texas City doors far more often than inland markets. It’s not a defect in the hardware; it’s the environment. A hinge that lasts 15 years in Dallas might last 7 here. Planning for this replacement cycle, and documenting when it happens, prevents the cascade failure that destroys springs and panels.
Step 2: Test Spring Tension and Balance
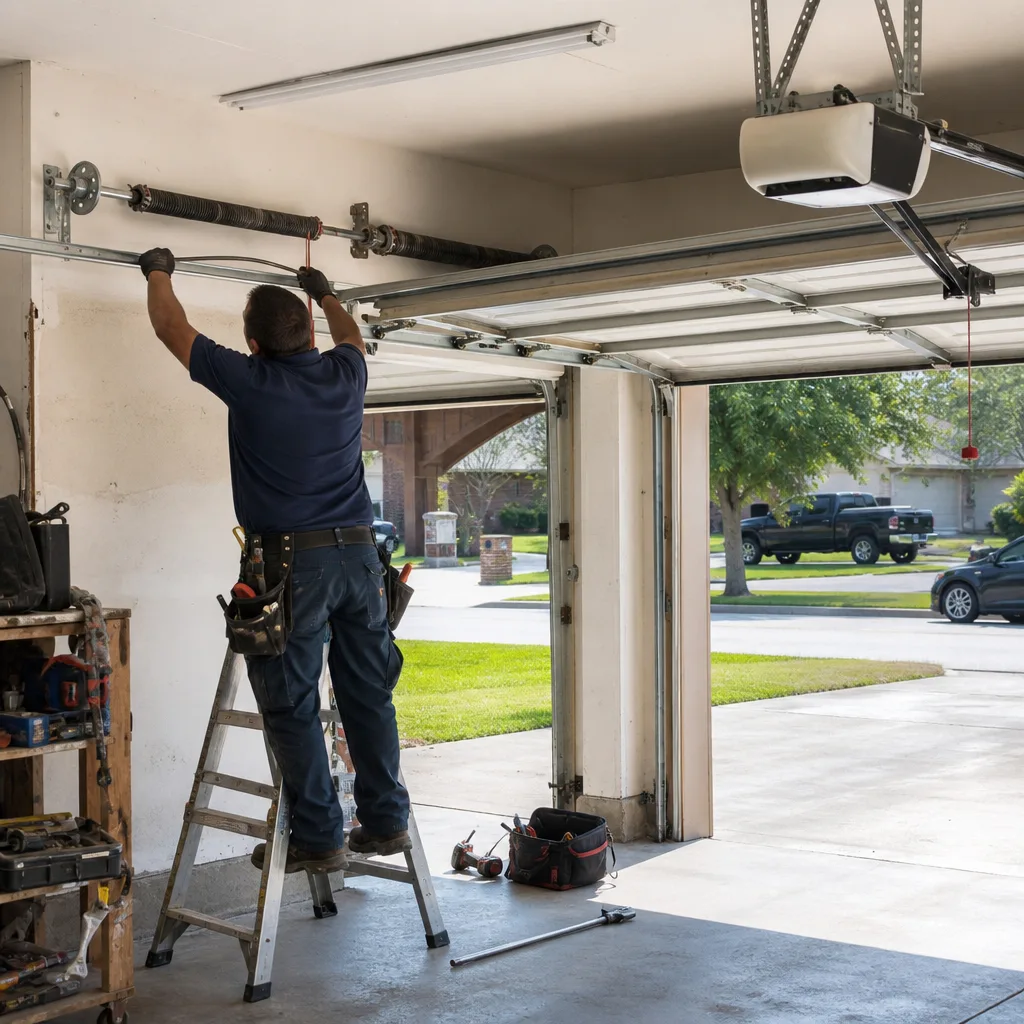
Torsion springs store massive mechanical energy. A standard 16-foot residential door spring holds roughly 100 pounds of torque at rest. Releasing that energy incorrectly causes serious injury or death. This section covers safe observation and testing only. Adjustment and replacement require training, proper tools, and should never be attempted by homeowners.
The Safe Tension Test
With the opener disconnected and door closed:
- Lift the door manually to waist height.
- Release it smoothly.
- Observe:
- Door stays in place: spring tension is properly balanced.
- Door drifts down slowly: spring tension is slightly low; monitor monthly.
- Door slams down: spring tension is dangerously low; stop using the door and call a professional.
- Door rises on its own: spring tension is too high; stop using the door and call a professional.
The One Visual Indicator That Means You Stop
Look at the torsion spring, the coiled steel shaft above the door. A clean gap between coils, what we call a “coil separation” or visible break, means the spring has failed. Do not touch the door. Do not try to open it. The spring is no longer counterbalancing 150+ pounds of door weight. The opener or your back will bear that load, and either will fail catastrophically.
Also inspect the cable drums at each end of the torsion shaft and the lift cables that run down to the bottom brackets. Fraying, rust, or any unwinding from the drum indicates imminent failure. These cables are under the same tension as the spring.
In Texas City, we see accelerated spring corrosion at the ends where the spring contacts the cones. Salt air penetrates the galvanizing and attacks the high-carbon steel. A spring that looks fine in the middle may be paper-thin at the ends. This is why visual inspection matters, and why we photograph the full spring length under Clause 4 of The Haven Standard before quoting any replacement.
If your door uses extension springs, the ones that stretch along the horizontal tracks, add safety cables if absent. These contain a broken spring so it doesn’t fly into the garage or through a wall. Texas City building code has required them on new installations for years, but older doors often lack them.
Step 3: Bottom Seals and Flood-Prone Lots
Texas City’s elevation varies dramatically. Properties near Moses Lake, in the Bayou Vista area, or on the north side near the industrial corridor sit low enough that street flooding is a regular occurrence. Even higher-ground homes in Mainland Meadows or the College Park area face intense UV exposure that degrades seals faster than inland climates.
What “Weathered” Looks Like
A UV-degraded seal shows surface cracking, color fading from black to gray, and slight stiffness. It may still function for water diversion in normal rain. This is maintenance-stage: plan replacement within 6-12 months.
What “Structurally Failed” Looks Like
A failed seal has:
– Tears or separations that allow light through when the door is closed
– Compression set: the seal no longer springs back to full height, creating a gap
– Missing sections, often from rodent damage or flood debris impact
– Water staining on the garage floor directly inside the door, indicating active leakage
Flood-specific damage is different. Submerged seals absorb water and contaminants. The rubber swells, then shrinks unevenly as it dries. The metal retainer channel rusts. We’ve inspected doors after Tropical Storm Imelda flooding where the seal looked intact but the retainer had dissolved enough that the seal fell out on the next door cycle.
Inspection Steps
- Close the door fully during daylight. Look for light gaps under the seal from inside the garage. Any visible light means the seal isn’t compressing uniformly.
- Run your hand along the seal’s bottom edge. It should feel flexible and slightly tacky. Chalky, brittle, or crumbling texture means UV degradation has progressed to material breakdown.
- Check the retainer channel, the aluminum or steel strip that holds the seal. Look for rust, especially at the ends where water collects, and for screws that have backed out.
- If your lot floods periodically, note the high-water mark on the door panel. Seals that have been submerged need replacement regardless of visible condition; internal degradation isn’t visible from the outside.
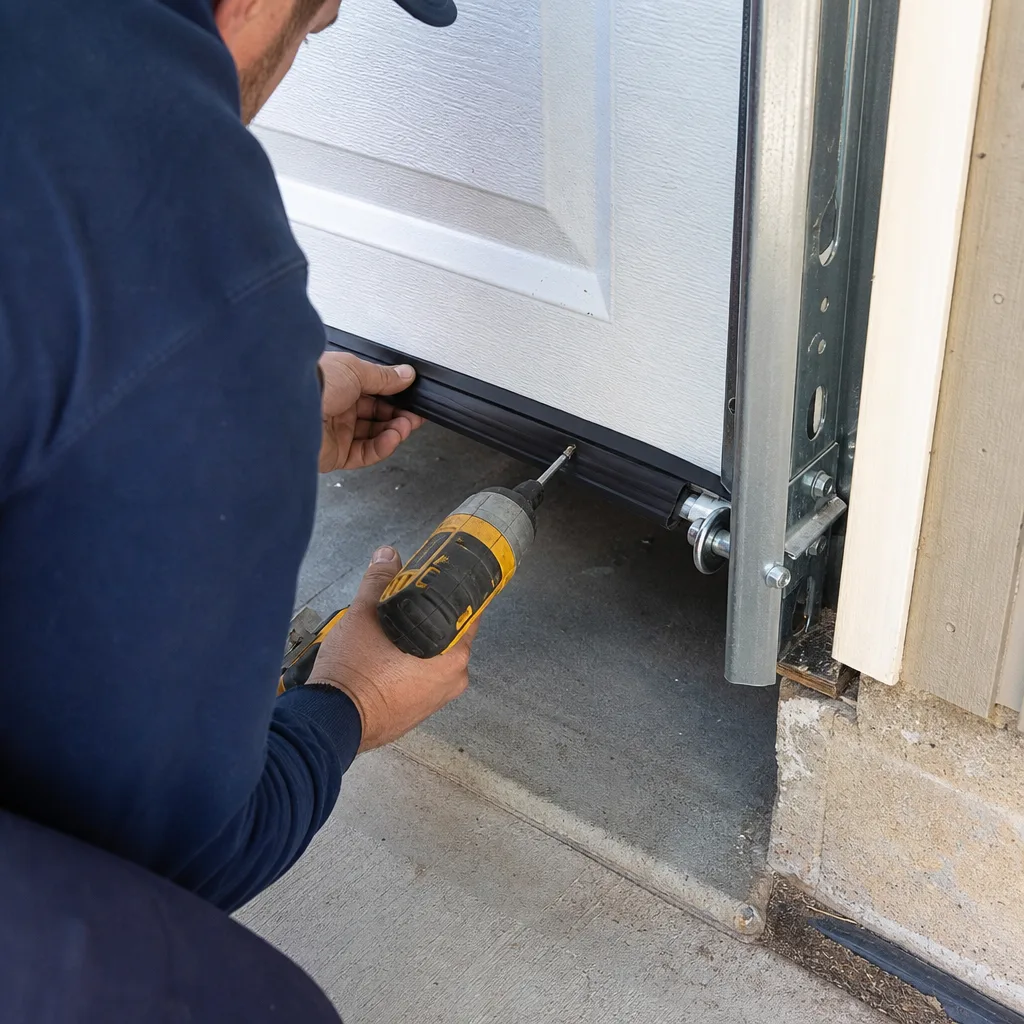
Bottom seal replacement is straightforward for most door models. Wayne Dalton, Clopay, and Amarr each use slightly different retainer profiles, so match the replacement to the existing channel rather than forcing a universal seal. For Garage Door Installation in Texas City customers, we specify UV-stabilized EPDM seals on all coastal installations, not standard vinyl.
Step 4: Tracks, Lubrication, and What Not to Use
Track inspection is visual and tactile. Lubrication application is where most homeowners create problems.
Track Inspection
- Check vertical tracks for plumb with a level if you have one. Tracks that lean inward or outward cause binding and roller wear.
- Look for dents, impacts from vehicles or equipment, and rust spots that indicate moisture accumulation.
- Verify track bracket tightness to wall framing. Loose tracks flex during operation and eventually crack at the bracket points.
- Clear debris from the track interior. Leaves, spider webs, and construction dust accumulate in Texas City’s windy spring months.
The Lubricant Question
Do not use WD-40 on garage door tracks, rollers, or hinges. WD-40 is a water displacer and light solvent, not a lubricant. It cleans surface rust temporarily, then evaporates, leaving a film that attracts dust and moisture. On salt-exposed hardware, it accelerates corrosion by removing protective oils and providing no replacement barrier.
Use a silicone-based garage door lubricant or white lithium grease. Apply sparingly:
- Hinge pins: one short spray, work the hinge, wipe excess
- Roller bearings: spray the bearing, not the wheel; spin to distribute
- Track interior: light wipe with lubricant on a rag, not direct spray; you want reduced friction, not a slippery surface that collects grit
- Torsion spring: light coating to prevent surface rust; do not touch the spring with your hands during this step
Never lubricate the garage door opener chain or belt unless the manufacturer specifically calls for it. Modern LiftMaster and Chamberlain openers use maintenance-free belts. Older chain-drive models may need light lubricant, but check the manual first; incorrect lubrication attracts grit that wears sprockets.
Texas City’s salt air means lubrication intervals should be quarterly, not annual. Mark your calendar for March, June, September, and December. The June application is critical; it protects hardware through the most humid months.
Step 5: Opener, Safety Sensors, and Force Settings
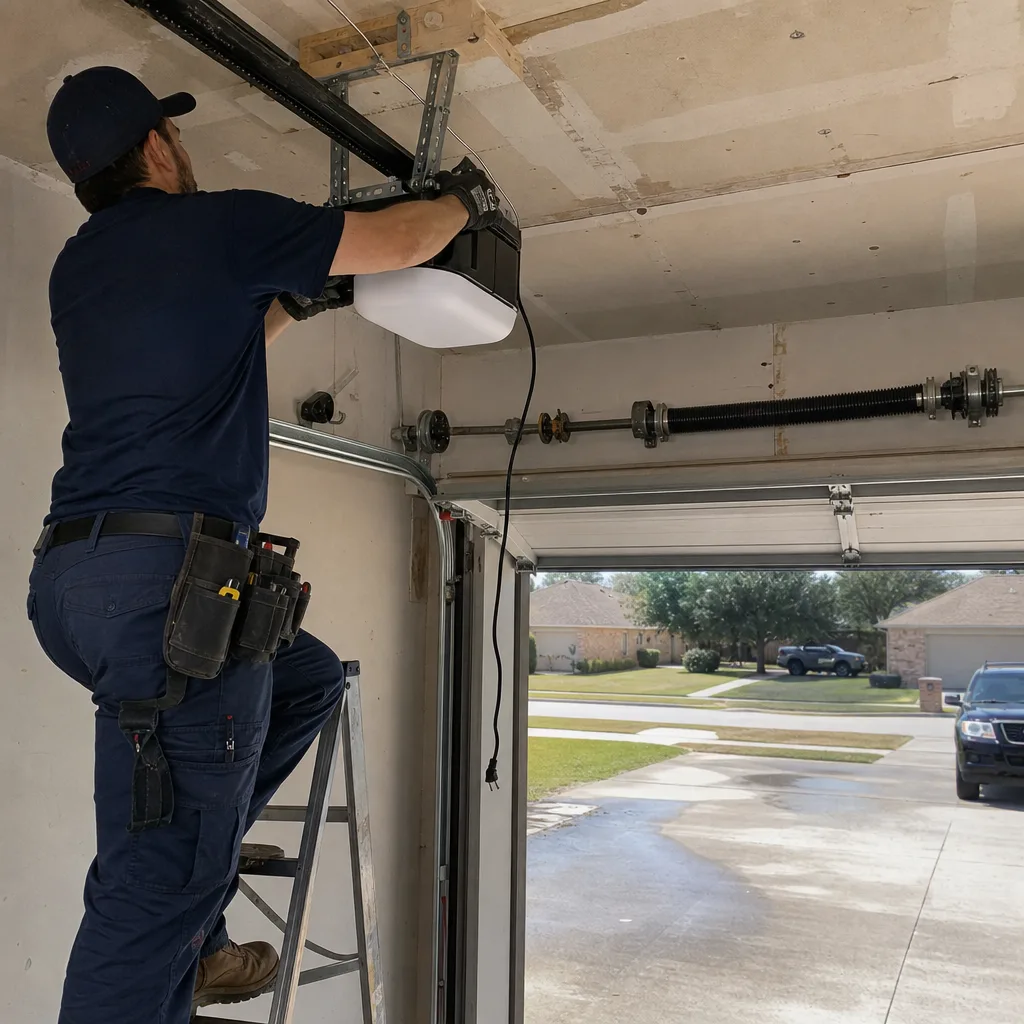
Opener maintenance is often neglected because the motor keeps running even when everything else is failing. But an opener working against corroded hardware or unbalanced springs burns out prematurely. These checks ensure the opener isn’t masking deeper problems.
Safety Sensor Test
The photo-eye sensors, mounted 4-6 inches above the floor on each track, must align precisely. Misalignment is the number-one cause of “door won’t close” calls in Texas City.
- Close the door using the remote or wall button.
- Wave a broomstick through the sensor beam while the door is descending.
- The door must reverse immediately. If it continues down, the sensors are misaligned, dirty, or failed.
Clean sensor lenses with a dry cloth. Spider webs across the lens are common in Texas City’s warm months. Check that both sensor LEDs are lit steadily; flickering indicates vibration or loose wiring.
Force Setting Verification
Modern openers have adjustable down-force and up-force limits. These compensate for door weight and friction. When hardware corrodes, friction increases, and the opener responds by applying more force. This masks the underlying problem until the opener motor or drive system fails.
Test with a 2×4 board laid flat on the floor in the door’s path:
- Close the door. It should reverse on contacting the board.
- If the door crushes the board or fails to reverse, the down-force is set too high. This is a safety hazard, especially for children or pets.
Do not increase force settings to compensate for a heavy or sticking door. Fix the door. Force adjustment is for fine-tuning, not problem-solving.
For Garage Door Opener Repair & Installation in Texas City, we verify force settings on every service call and document the values. If your opener is more than 10 years old and lacks modern safety features, replacement with a current LiftMaster or Chamberlain model provides significant safety improvements.
Building Your Documented Record
A maintenance checklist without documentation is a memory exercise. Memories fail, warranties expire, and buyers want proof. The Haven Standard was built on documentation; here’s how to apply that principle to your own maintenance. For more guides & resources, visit our blog.
The Minimum Viable Record
For each inspection, create a dated entry with:
- Date and weather conditions (humidity affects findings)
- Photo of each component inspected: rollers, hinges, spring, seal, sensors
- Condition rating: Good / Monitor / Replace Soon / Failed
- Any action taken: lubricated, tightened, called for service
- Next inspection date
Digital or Paper
A phone album works. A cloud folder shared with household members works better. The key is accessibility: when you call for service, you can share the history. When you sell the home, you can demonstrate maintenance.
Our technicians produce a documented photo record on every visit under Clause 4. Customers receive images of what was found, what was done, and what to monitor. This isn’t an extra service; it’s built into every job. If you’re maintaining the door yourself, adopt the same discipline.
What Documentation Protects
Manufacturer warranties on springs, openers, and panels often require proof of maintenance. A dated photo of a properly lubricated hinge, taken before the spring failed, supports a warranty claim that might otherwise be denied for “lack of maintenance.” In Texas City’s corrosive environment, manufacturers are particularly strict about this clause.
Common Mistakes to Avoid
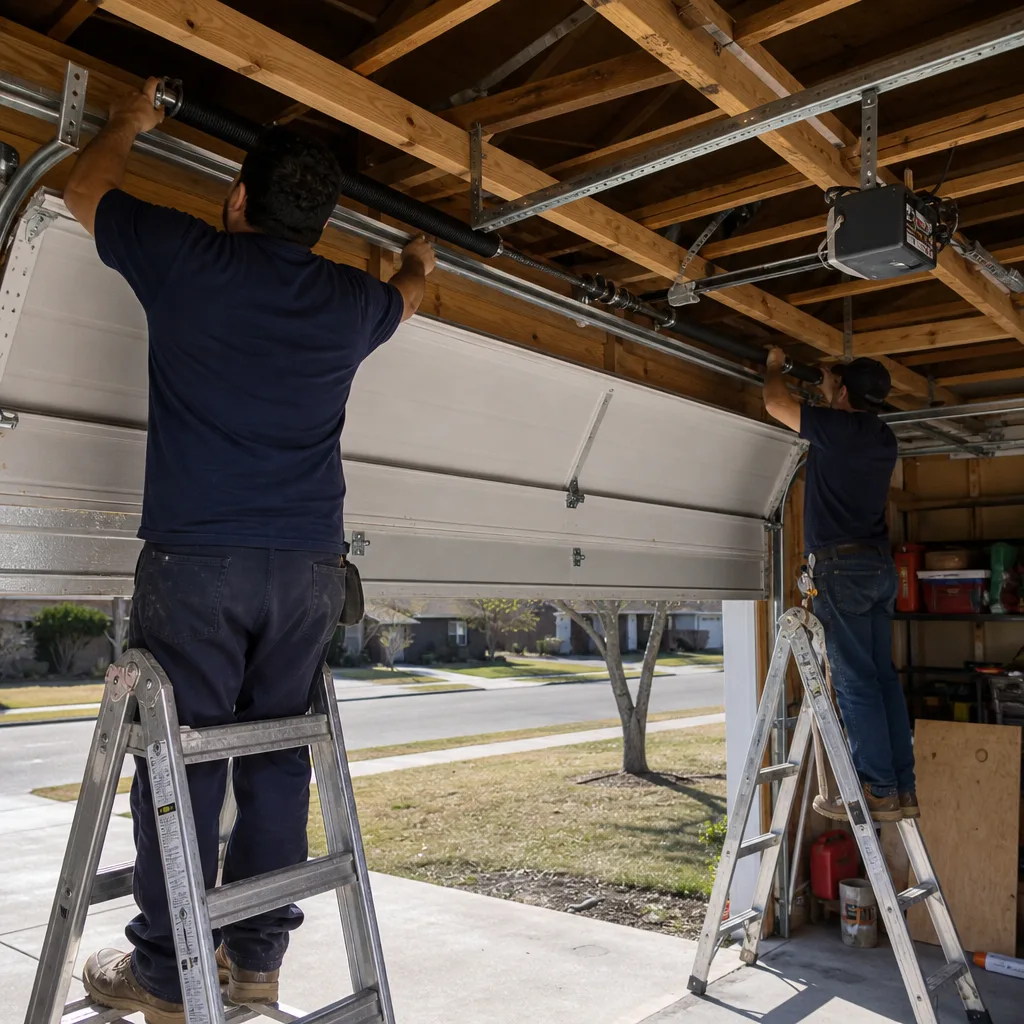
- Using WD-40 as a lubricant. It cleans, then evaporates, leaving metal exposed to salt air. We’ve replaced hardware that was “maintained” monthly with WD-40 and corroded faster than unmaintained hardware.
- Ignoring the door until it won’t open. The grinding you heard for three months was the hinge pins failing. The sudden spring break was the consequence. Inspection every 90 days catches the grinding.
- Testing spring balance on a damaged door. If rollers are off the track or cables are frayed, don’t lift the door manually. The uneven load can pull the door out of the tracks entirely.
- Replacing the opener to fix a heavy door. A new opener on an unbalanced door fails in 2-3 years. Fix the springs and hardware first, then match the opener to the corrected door weight.
- Using the wrong seal for the retainer. Universal seals that don’t fit the channel profile work loose, catch on the track, and tear off. Match the profile or replace the retainer with the seal.
- Skipping documentation because “I’ll remember.” You won’t. And the next owner, or the warranty examiner, needs the paper trail.
- Pressure-washing the door and components. High-pressure water forces moisture into bearings, hinge pins, and the space between door sections. It accelerates corrosion. Use a garden hose and mild detergent if cleaning is needed.
When to Call a Professional
Call when you observe any of the following: visible spring coil separation, door that won’t stay at half-height when tested manually, opener that reverses randomly or fails safety tests, cables off the drum or frayed, door panels cracked or dented affecting operation, or any hardware that is seized and won’t free with proper lubrication.
Also call if your inspection reveals multiple issues. Corroded hinges, a weakening spring, and a UV-degraded seal together indicate the door is approaching end of useful life for several components. Addressing them piecemeal costs more than coordinated replacement.
Servo Garage Doors Texas City offers free estimates in Texas City. We’ll inspect your door, photograph what we find, and provide a flat written price before any work starts. That’s Clause 1 of The Haven Standard. Call (409) 797-6585.
Frequently Asked Questions
Inspect every 90 days during humid months, March through November, and every 6 months during drier winter periods. Texas City’s coastal humidity accelerates corrosion significantly compared to inland Texas climates.
Professional maintenance inspection and tune-up typically runs $89-$149 in the Texas City market, depending on door size and number of components requiring attention. If you’re hiring help, read How to Hire a Garage Door Contractor in Texas City: A Step-by-Step Guide first. Component replacement, such as rollers or hinges, adds $15-$40 per item with labor included. We quote a flat, written price before any work starts per Clause 1 of The Haven Standard. Call (409) 797-6585 for an exact quote; estimates are free.
Yes, if you use the correct product and apply it correctly. Use silicone-based garage door lubricant or white lithium grease on hinges, roller bearings, and spring surfaces. Do not use WD-40. Do not lubricate tracks directly; wipe with lubricant on a rag instead. Never attempt to lubricate or touch components while the door is moving or the opener is connected.
Spring life depends on cycle count, door weight, balance, and environmental exposure. If your hardware corrodes and binds, the spring works harder each cycle. If your door is heavier due to insulation or glass panels, the spring is undersized. In Texas City specifically, salt air corrosion at the spring ends reduces effective wire diameter. The spring may look intact in the center and fail at the ends.
Clean the seal with mild soap and water, then inspect. If cracks are surface-only and the seal rebounds to full height when compressed, it has remaining life. If cracks penetrate through, the seal stays compressed, or light shows through when the door is closed, replace it. In Texas City’s flood-prone areas, any seal that has been submerged should be replaced regardless of visible condition.
No. Our price is quoted and agreed before any work starts. That’s Clause 1 of The Haven Standard. We inspect, photograph what we find, and provide a flat written price with scope. You approve it, or you don’t. No surprises, no escalation. Call (409) 797-6585 for a free estimate.
The Bottom Line
Texas City’s coastal climate demands a maintenance approach that prioritizes corrosion-prone hardware first, spring balance second, and seal integrity third. Inspect quarterly, use silicone-based lubricant on salt-exposed metal, and document everything. The failure sequence is predictable; catching it early prevents the cascade that destroys springs, panels, and openers. Build a paper trail. Name the problem precisely. And when a component is beyond maintenance, replace it before it damages everything connected to it.
Written by Marcus Deller, Owner at Servo Garage Doors Texas City, serving Texas City since 2015.