
Last updated September 22, 2026
Full 25-point door and opener safety check with every visit - springs, cables, rollers, tracks, and your LiftMaster or Chamberlain opener included
You get a price before we start. It does not change when the truck arrives.

 Before
 After
After Before
 After
After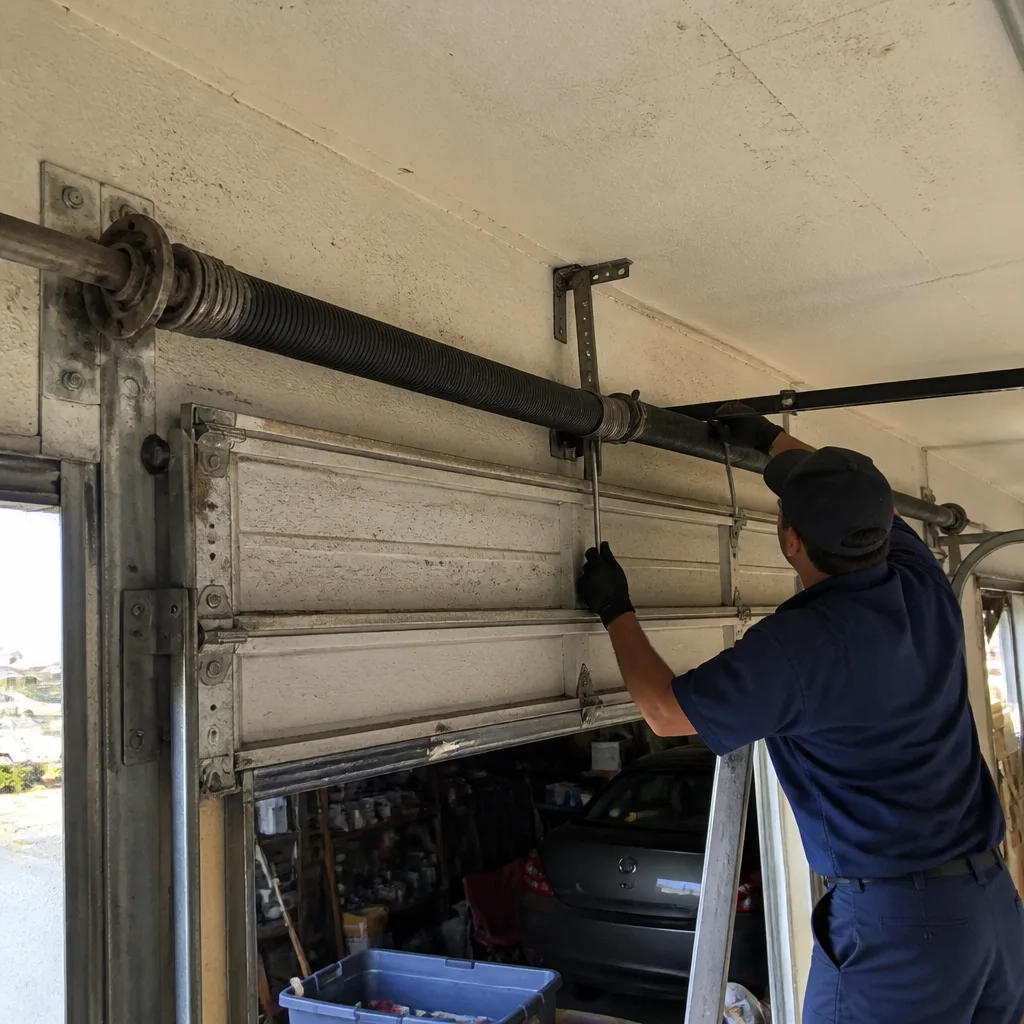 Before
 After
AfterDIY vs Professional Garage Door: The Texas City Homeowner’s Decision Guide
You can legally install your own garage door in Texas City. Whether your insurance company will pay a wind-damage claim on that door afterward depends on documentation your YouTube tutorial doesn’t mention. In this guide, we’ll show you exactly which garage door tasks are safe to handle yourself, which ones cross into licensed-work territory under Galveston County’s wind-zone requirements, and how to build a paper trail that protects you either way. Texas City’s position on the Gulf Coast means every installation decision carries a liability dimension that inland homeowners rarely face.
Quick Answer
DIY garage door work in Texas City makes sense for low-tension maintenance like weather seal replacement, opener remote programming, and roller swaps on doors with extension springs. Professional installation is required for torsion spring work, new door installation, track modification, and any job needing a TDI wind-storm certificate, because self-installed doors in the coastal wind zone risk insurance denial if they fail during a named storm.
Table of Contents
- What You Can Safely DIY (And Where to Stop)
- The Texas City Wind Zone Problem: Why DIY Installation Gets Complicated
- TDI Wind-Storm Certification: What It Requires and Who Can Pull It
- The Insurance Clause Most Texas City Homeowners Haven’t Read
- How to Document DIY Repairs So They Don’t Haunt You Later
- DIY vs Professional: Real Cost Comparison for Texas City
- The Tool Investment Most DIY Guides Don’t Mention
- When to Call a Professional
 Before
 After
AfterWhat You Can Safely DIY (And Where to Stop)
Not every garage door task carries the same risk profile. We’ve spent eighteen thousand service visits learning where the line sits, and for Texas City homeowners, that line is clearer than most guides & resources admit.
Safe DIY territory: These tasks involve no stored mechanical energy, no structural load-bearing, and no permit triggers.
- Weather seal replacement. The rubber or vinyl strip along the bottom of your door hardens in Texas City’s humidity and UV exposure, typically every 3-5 years. Unbolt the old retainer, slide in the new seal, reinstall. No spring tension, no track adjustment. Cost: $15-40 in parts, 30 minutes.
- Opener remote and keypad programming. Every major manufacturer publishes their learn-button sequence. For LiftMaster, Chamberlain, and Craftsman openers, the process is identical: press the purple or yellow learn button on the motor head, then press the remote button within 30 seconds. The logic board does the pairing. If it fails, you’ve changed nothing mechanically.
- Visual safety sensor alignment. The photo eyes near the floor send an invisible beam across the door opening. When the LED on one eye turns from steady to blinking, loosen the wing nut, point it directly at its mate until both LEDs glow solid, then tighten. This is diagnostic, not mechanical.
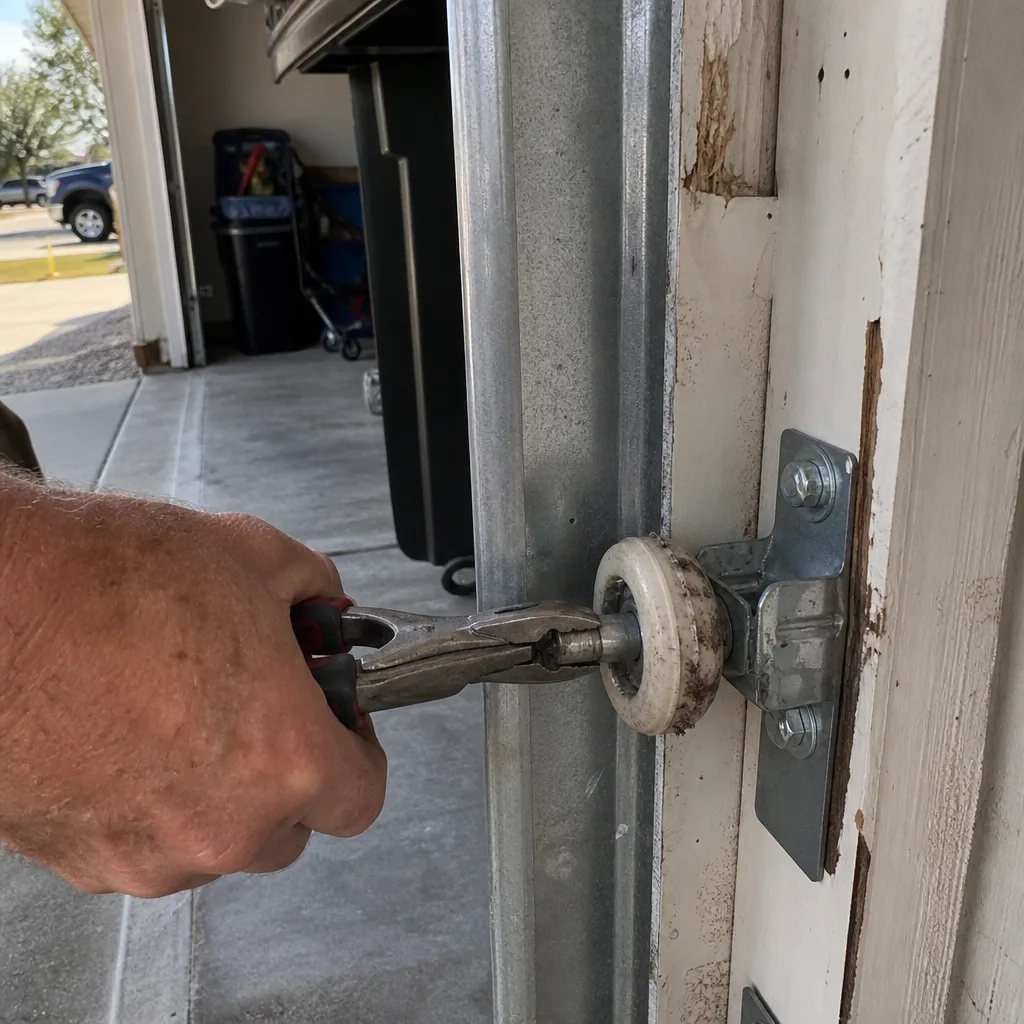
- Roller replacement on extension-spring doors. Extension springs run parallel to the horizontal tracks and stretch to store energy. They’re lower-tension than torsion springs and easier to release safely. Unplug the opener, raise the door fully (which unloads the springs), clamp locking pliers on the track below the bottom roller, then swap rollers one at a time. Never remove more than one roller per side at once.
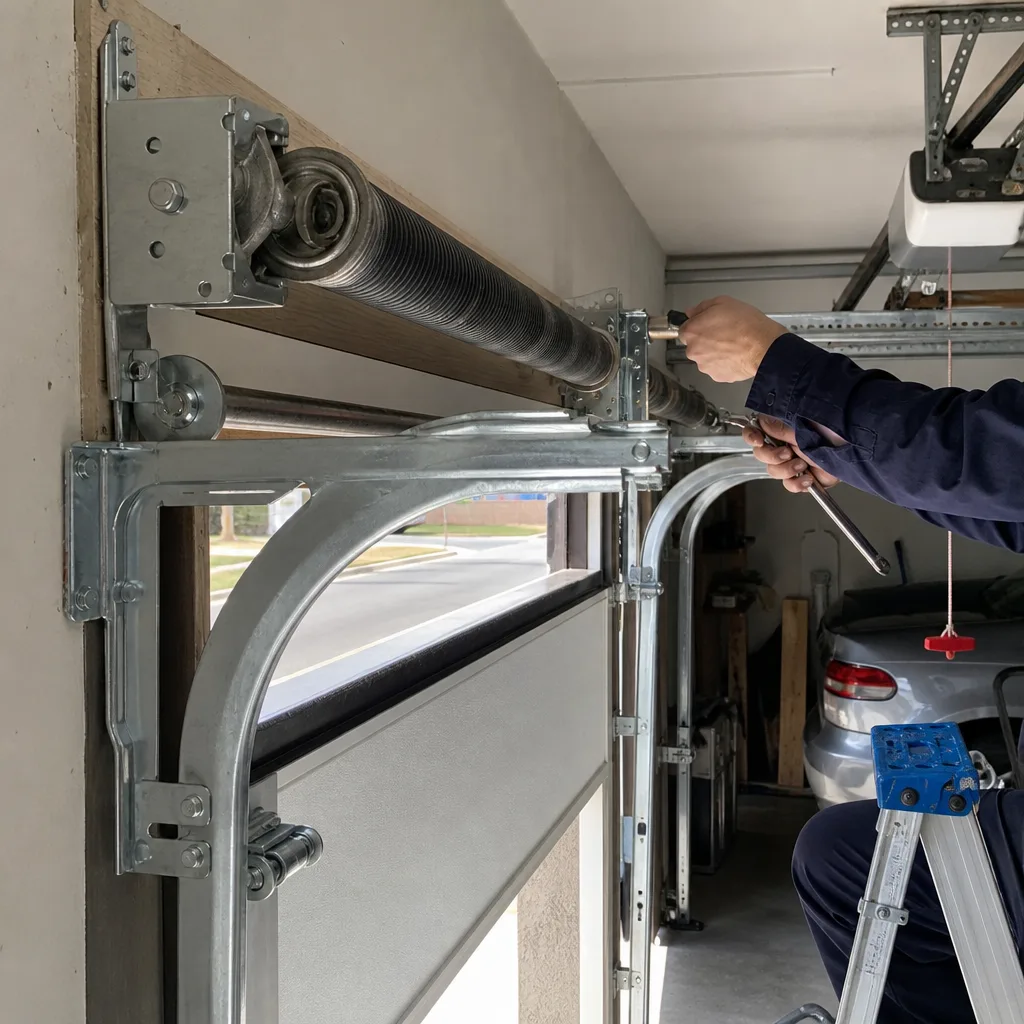
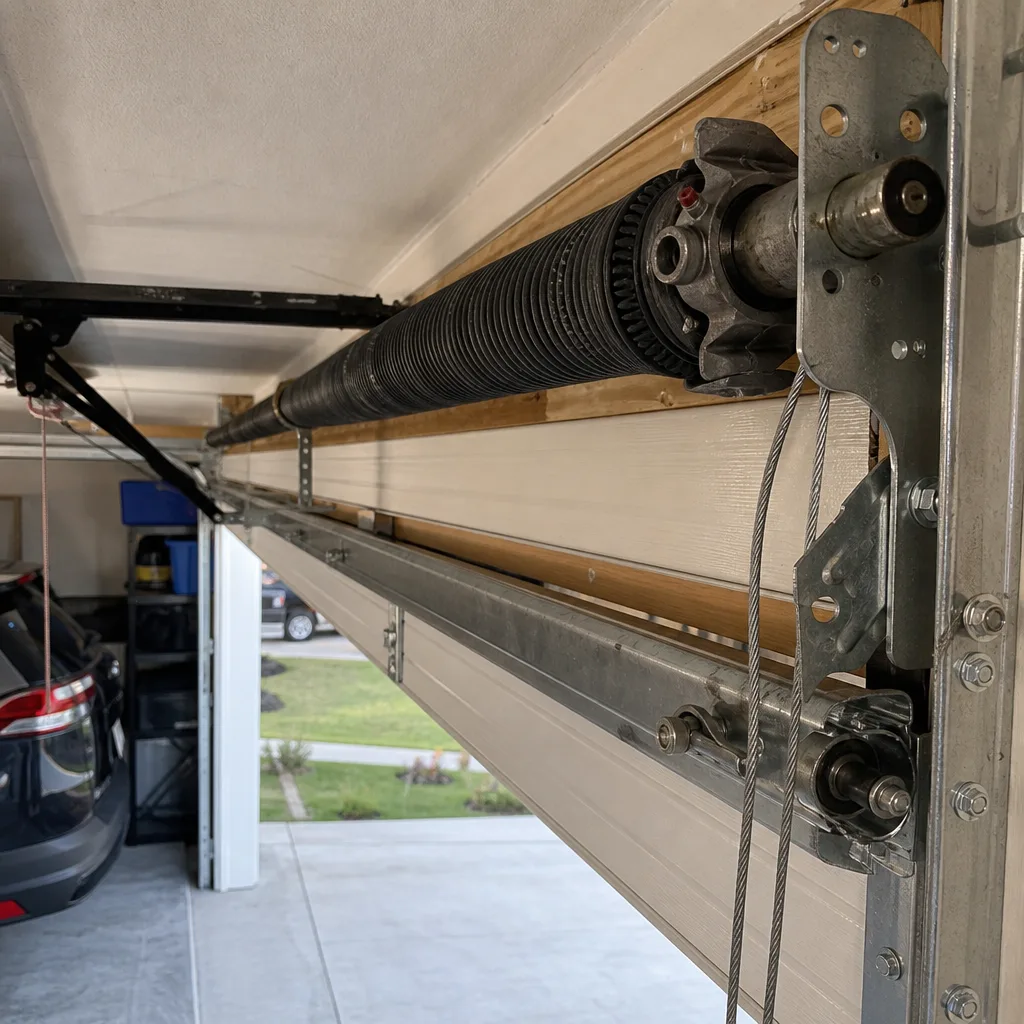
The hard stop: Torsion spring work, track modification, and cable replacement. Torsion springs are the coiled steel above your door that twist to store energy. A standard 16×7 residential door spring holds roughly 10,000 foot-pounds of torque. The winding bars used to add or release tension are 18-inch solid steel rods. If your hand slips or the bar catches wrong, the stored energy releases instantly. We’ve documented spring-related injuries where the homeowner was following a video exactly. The video didn’t show what happens when the set screw is worn and the bar spins free.
We don’t provide step-by-step torsion spring instructions. No responsible technician does. The garage door repair in Texas City that requires spring work is priced at $180-340 for standard residential doors, and that includes the technician’s liability, the correct spring calculation for your door weight, and the documented photo record Clause 4 of The Haven Standard requires.
The Texas City Wind Zone Problem: Why DIY Installation Gets Complicated
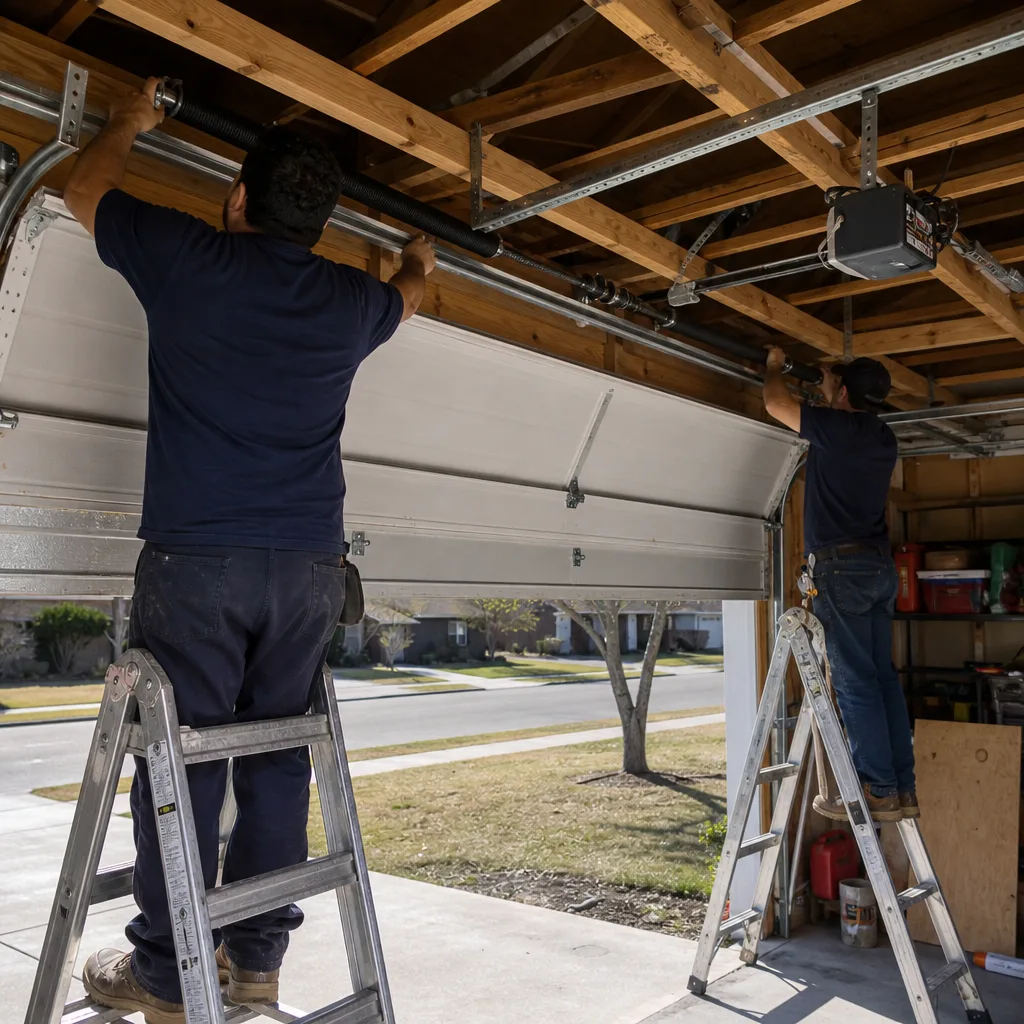
Texas City sits in Galveston County, which the Texas Department of Insurance designates as a coastal wind zone. This isn’t a zoning technicality. It changes the engineering requirements for every exterior opening on your home, garage doors included.
Here’s what that means in practice. A garage door installed in Katy or Cypress faces design wind pressures around 20-25 psf (pounds per square foot). In Texas City, that same door opening sees 30-35 psf, and higher in specific exposure conditions. The door must resist that pressure without failing, because a failed garage door during a hurricane creates a sudden internal pressure change that can lift the roof off a house. Engineers call it the “dominant opening” effect, and it’s why garage doors are the most failure-critical exterior component in coastal construction.
The International Residential Code, adopted by Galveston County with local amendments, requires wind-rated garage doors in this zone. But “wind-rated” doesn’t mean “any door with a sticker.” It means:
- The door assembly, including tracks, brackets, and hardware, was tested as a complete system to ASTM E330 or ANSI/DASMA 108 standards
- The installed configuration matches the tested configuration exactly
- The installation was performed under a permit pulled by a licensed contractor
- The final installation passed inspection and received a TDI wind-storm certificate
A DIY installation can satisfy the first two conditions if you buy the right door. It cannot satisfy the last two, because Texas does not issue wind-storm certificates to unlicensed installers. This is the liability gap most homeowners discover only after a storm, when they’re reading their insurance policy’s exclusion clause instead of their coverage summary.
In the Bayou Vista and La Marque areas adjacent to Texas City, we’ve seen this play out twice since 2020: homeowners who installed their own wind-rated doors, had them fail in named storms, and received denial letters citing “improper installation” rather than product defect. The door was correct. The installation had no certificate. The gap between those two facts cost tens of thousands in uncovered damage.
TDI Wind-Storm Certification: What It Requires and Who Can Pull It
TDI wind-storm certification is not a product label you can buy. It’s a process that validates the entire installation chain, and understanding it helps explain why DIY installation creates an insurance documentation problem.
Step 1: Product approval. The garage door and its components must appear on the TDI list of approved products. This list specifies the exact model numbers, sizes, and hardware configurations that passed testing. A Clopay model 4050 in 9×7 with standard track is not interchangeable with the same model in 16×7 with low-headroom track. The approval is granular.
Step 2: Licensed contractor permit. In Galveston County, a garage door installation permit must be pulled by a contractor licensed by the Texas Department of Licensing and Regulation (TDLR) or a locally equivalent license. The permit application includes the product approval number, the installation address, and the contractor’s license information. A homeowner cannot pull this permit for their own installation.
Step 3: Installation to manufacturer specifications. This is where DIY efforts most often drift from compliance. Wind-rated doors require specific track gauges, bracket spacing, jamb attachment methods, and reinforcement strut placement. The installation manual for a Raynor WindLoad door runs 40+ pages. One missed strut location, one substituted lag bolt, one track bracket at the wrong spacing, and the installation no longer matches the tested assembly.
Step 4: Inspection. Galveston County or a TDI-appointed inspector verifies the installation against the approved plans. They check product labels, fastener types, strut placement, and track attachment. If the door opener was installed simultaneously, they verify the opener bracket doesn’t compromise the wind load path.
Step 5: Certificate issuance. Only after passing inspection does TDI issue the wind-storm certificate. This certificate is filed with the property records and must be produced for any wind-damage claim.
The garage door installation in Texas City that Servo performs includes permit pulling, TDLR-licensed installation, inspection scheduling, and certificate delivery. The homeowner receives the certificate copy, the inspection report, and the documented photo record showing every critical installation detail. That’s the paper trail that satisfies Clause 4 of The Haven Standard, and it’s the paper trail a DIY installation cannot produce.
The Insurance Clause Most Texas City Homeowners Haven’t Read
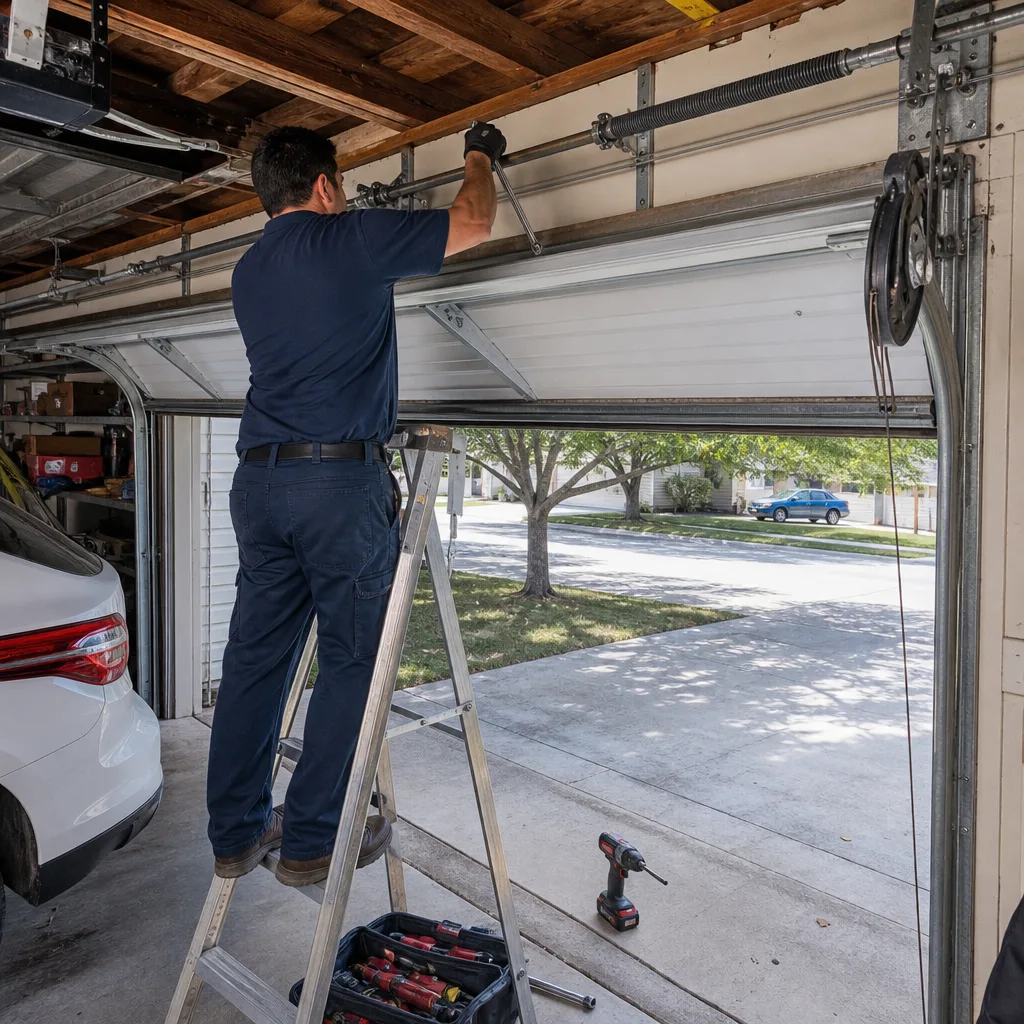
Standard Texas homeowners policies in coastal counties contain a version of this language, which we’ve extracted from actual policy documents our customers have shared:
“Coverage for windstorm and hail damage to garage doors is conditioned upon installation by a licensed contractor in compliance with applicable building codes and TDI wind-storm requirements. Damage resulting from improper installation, including self-installation without required permits and certificates, is excluded.”
Read that again. The exclusion is not for “unlicensed installation.” It’s for “improper installation, including self-installation without required permits and certificates.” The policy creates a rebuttable presumption: if you installed it yourself and lack the certificate, the burden shifts to you to prove the installation was not the cause of failure.
After Hurricane Nicholas in 2021, we spoke with a Texas City homeowner in the Emmett F. Lowry Expressway corridor who had installed a wind-rated Clopay door himself, carefully following the manual. The door failed at the track bracket attachment during the storm. His insurer denied the claim, noting the lack of TDI certificate and the absence of inspection documentation for the bracket fastening. He had used the correct bracket. He had used the correct fasteners. But he had no photograph of the installation, no torque specification record, no inspector’s sign-off. The denial stood.
This is the liability exposure that makes the DIY vs. professional question in Texas City different from the same question in Austin or Dallas. It’s not about whether you can do the work. It’s about whether you can underwrite the risk if the work fails in conditions it was specifically designed to survive.
How to Document DIY Repairs So They Don’t Haunt You Later
Not every garage door task requires a TDI certificate. Weather seal replacement, roller swaps, opener programming, and sensor alignment are maintenance and repair activities that don’t trigger permit requirements. But if you do them yourself, you should still build a record. Here’s how to create documentation that serves you if questions arise later.
- Photograph the “before” state. Before touching anything, take dated photos of the component you’re replacing and its surrounding context. For a roller swap, photograph the roller in the track, the hinge attachment, and the spring type above the door. This establishes what system you were working on.
- Record the part specifications. Save the packaging, invoice, or product label showing the manufacturer, model number, and date of purchase. For a LiftMaster remote, that’s the part number and FCC ID. For a bottom seal, that’s the width, thickness, and material type. File these with the photos.
- Photograph the completed work. Show the new component installed, the surrounding hardware undisturbed, and the door in closed and open positions. The goal is to demonstrate that you replaced one defined component without altering the structural system.
- Write a one-paragraph work summary. Date it. State what you did, what parts you used, and what you did not do. “Replaced bottom roller on left side with 2-inch nylon roller, part number [X]. Did not adjust track, springs, or cables. Door operated normally after replacement.” This becomes contemporaneous evidence if a later failure is misattributed to your work.
- Store everything in cloud backup. Email it to yourself, save to Google Drive, whatever you use. The record does no good on a phone that gets replaced or damaged.
This documentation won’t create a TDI certificate where one wasn’t required. But it can rebut an insurer’s or subsequent technician’s claim that your DIY repair caused a later, unrelated failure. We’ve used customer-provided records exactly this way when evaluating whether a door failure was related to prior work or a separate defect.
The Haven Standard’s documented photo record exists because we believe the customer should see what was found and what was done. If you’re doing the work yourself, you can build a lesser version of that same record. It’s not as authoritative as a licensed technician’s documentation, but it’s infinitely better than nothing.
DIY vs Professional: Real Cost Comparison for Texas City
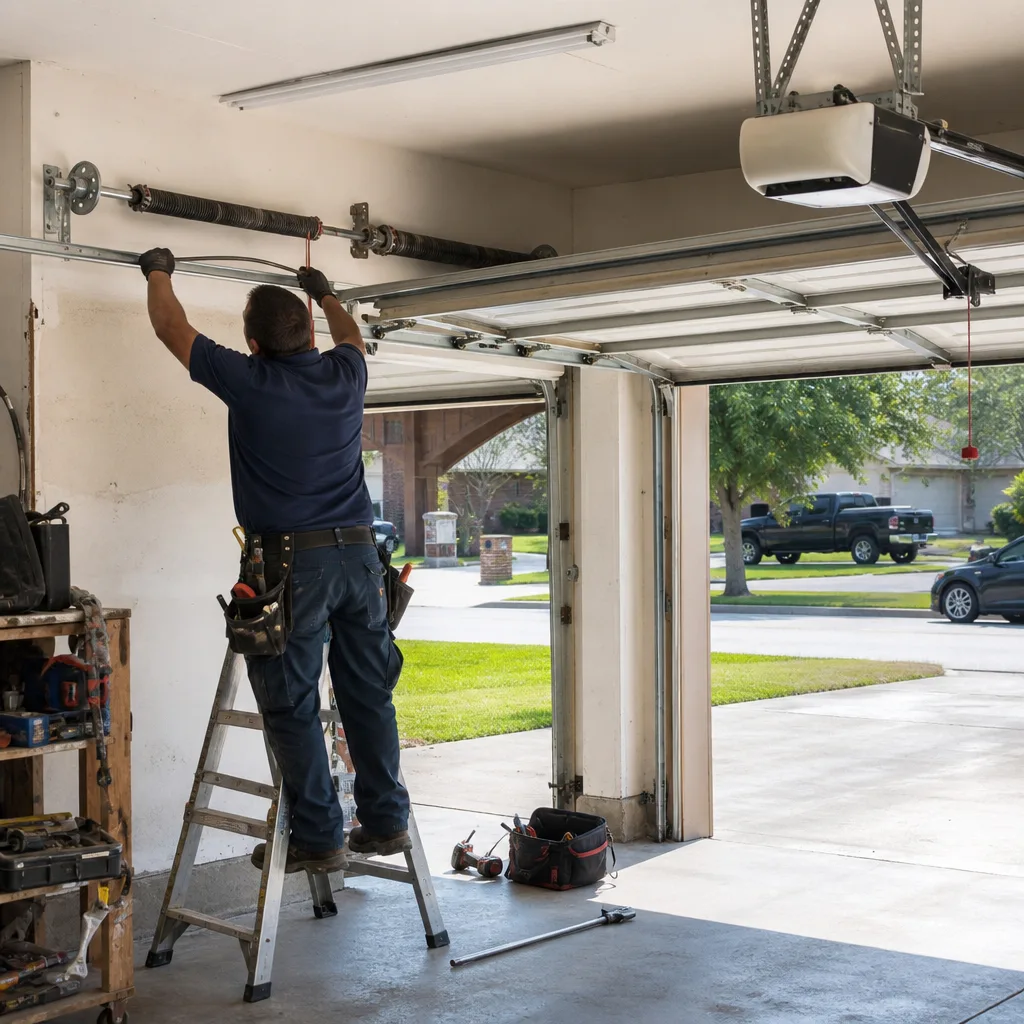
Cost comparisons only matter when they compare the same outcome. Here’s what DIY and professional paths actually cost for common garage door tasks in the Texas City market, including the hidden costs most guides omit.
| Task | DIY Parts Cost | DIY Tool/Hidden Costs | Professional Range (Texas City) | What Professional Includes |
|---|---|---|---|---|
| Bottom weather seal replacement | $15-40 | None | $85-140 | Seal, labor, disposal, photo record |
| 2 nylon roller swap (extension spring door) | $12-25 | Locking pliers if not owned | $120-180 | Rollers, labor, track inspection, photo record |
| Opener remote programming | $25-45 (remote) | None | $65-95 (includes remote) | Remote, programming, range test, photo record |
| Torsion spring replacement | $40-80 (spring pair) | Winding bars ($30), vise grips, ladder rated for your weight plus load | $180-340 | Spring calculation, installation, balance test, 365-Day Done Right Promise, photo record |
| New door installation (16×7, steel, insulated) | $650-1,200 (door only, delivered) | Tools for demolition and install, permit cannot be pulled, no certificate possible | $1,400-2,800 | Door, delivery, removal, permit, installation, inspection, TDI certificate, photo record, 365-Day Done Right Promise |
| Opener replacement (chain drive, 1/2 HP) | $180-350 | Ladder, drill, level, wiring tools | $450-750 | Opener, rail assembly, safety check, force setting verification, photo record |
The hidden cost in DIY installation is the uncertified status. If you spend $1,500 on a quality door, $200 on tools, and two weekends on installation, you’ve invested $1,700 in an assembly that your windstorm policy may not cover. The professional installation at $2,100 includes the certificate that activates your coverage. The $400 difference is insurance premium by another name.
For garage door opener repair & installation in Texas City, the professional range includes force setting verification with a calibrated scale, which ensures the auto-reverse function will stop the door on a 2×4 obstruction as required by UL 325. Most DIY installations rely on the manual’s default setting, which may not match your specific door weight and spring balance.
The Tool Investment Most DIY Guides Don’t Mention
The garage door trade has specialized tools for reasons that become clear when you try to substitute. Here’s what professional technicians carry that most homeowners don’t own, and why it matters for specific tasks.
Torsion spring winding bars. These are solid steel, 18 inches long, precisely 1/2-inch or 7/16-inch diameter to fit the cogs of a winding cone. Using a screwdriver, a bolt, or any other substitute is how fingers get broken. The bars cost $30-50 and serve exactly one purpose. If you’re doing one spring replacement in your lifetime, you’re buying a single-use tool.
Cable unwinding tool. For safely releasing tension from extension spring cables without letting the spring snap free. A pair of locking pliers can substitute in some configurations, but the margin for error is narrow.
Track plumb bob and level system. Vertical tracks must be plumb within 1/4 inch over their full height, and the header bracket must be level to prevent premature roller wear. Professional installation includes this verification; most DIY efforts eyeball it.
Torque wrench for lag bolts. Wind-rated track brackets require specific fastener torque to achieve their design pull-out resistance. A standard drill-driver with clutch setting is not a torque wrench. Over-torque strips the fastener; under-torque fails under load.
Spring scale for door balance. A properly balanced door should stay at any height when disconnected from the opener and require 10-15 pounds of force to lift from the floor. Testing this requires a hanging scale. An unbalanced door burns out the opener motor in 18-24 months.
The tool investment for comprehensive DIY garage door work runs $400-700. For a homeowner who enjoys the work and plans multiple projects, that’s reasonable. For a one-time spring replacement, it’s not. And no tool purchase creates the TDI certificate that insurance requires.
When to Call a Professional
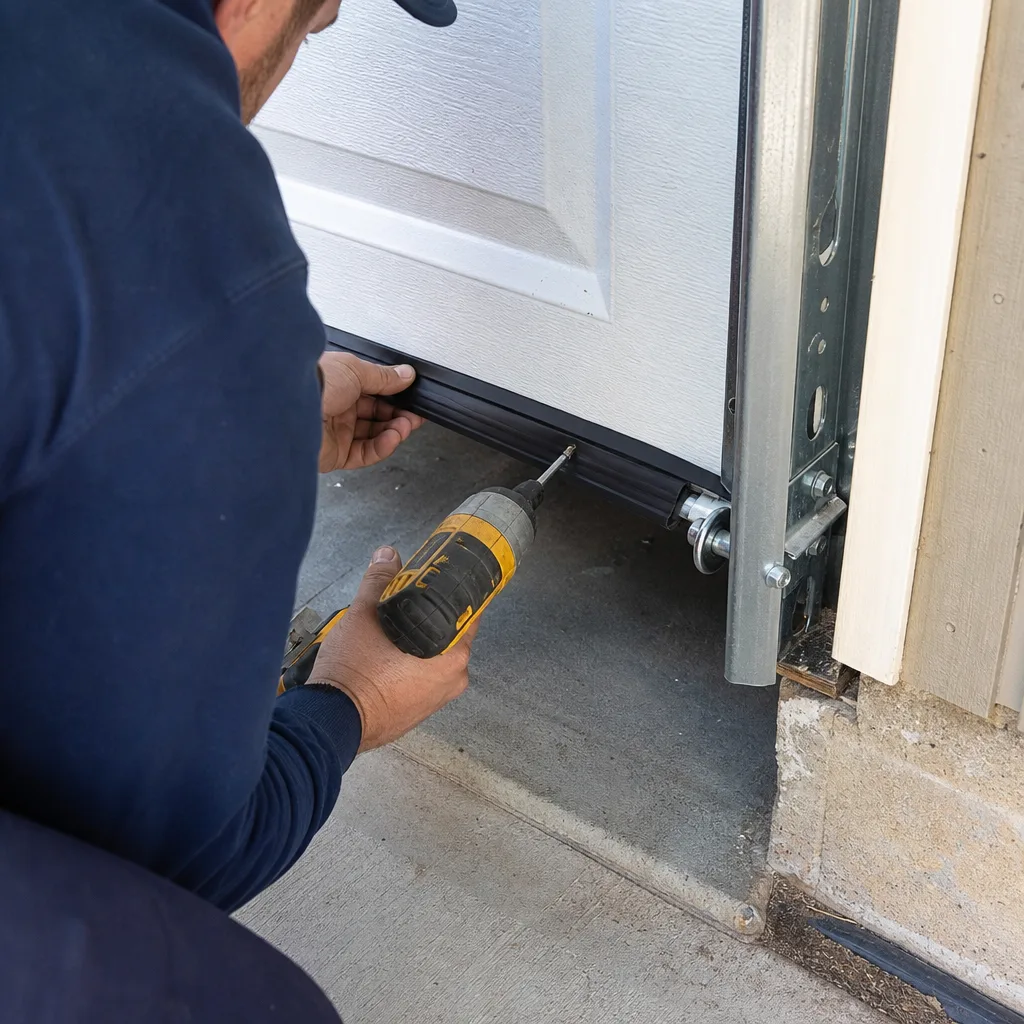
Call a professional when the task involves stored mechanical energy, structural load paths, or regulatory compliance. Specifically:
- Torsion spring replacement or adjustment
- New door installation in Texas City’s wind zone
- Track modification, relocation, or repair
- Cable replacement on any spring system
- Opener installation where the bracket attaches to the door or header
- Any door that has failed, sagged, or been struck by a vehicle
- Any situation where you need a TDI wind-storm certificate
Servo Garage Doors Texas City offers free estimates in Texas City. We’ll assess your door, photograph what we find, and deliver a flat written price before any work starts. That’s Clause 1 of The Haven Standard. Call (409) 797-6585.
Common Mistakes to Avoid
- Assuming a wind-rated door is enough. The door is only one component. The installation, permit, and certificate complete the chain. We’ve seen Texas City homeowners in the Moses Lake area buy premium wind-rated doors and install them without permits, thinking the product label satisfied the requirement.
- Using the wrong spring. Door springs are calculated by weight, height, track radius, and cycle life. A spring that’s “close enough” overworks the opener, damages the door sections, and fails prematurely. We measure with a calibrated scale and match to manufacturer specifications.
- Ignoring the opener force setting after any door work. Any change to springs, cables, or rollers alters the door’s operating force. The opener’s down-force and up-force limits must be recalibrated with a scale. Skipping this step is how doors crush objects or reverse unexpectedly.
- Installing a standard door in a wind zone. Some online retailers sell non-wind-rated doors at lower prices. In Texas City, this is money thrown away. The door cannot be permitted, cannot be certified, and cannot be insured for wind damage.
- Removing both extension springs at once. DIY guides sometimes show this for “efficiency.” With no spring tension, the door is dead weight and the cables are slack. If the door slips, it falls freely. Replace extension springs one at a time, with the door clamped in the open position.
- Trusting video tutorials for your specific door. A video showing a Clopay door with standard lift may not apply to your Wayne Dalton with low-headroom track. The hardware differs, the spring placement differs, the safety procedures differ. Manufacturer documentation trumps generic video.
- Throwing away old parts before documenting them. If a defect or warranty claim arises, you need the failed component. Our photo record includes the old part, the new part, and their specifications. Your DIY record should too.
Frequently Asked Questions
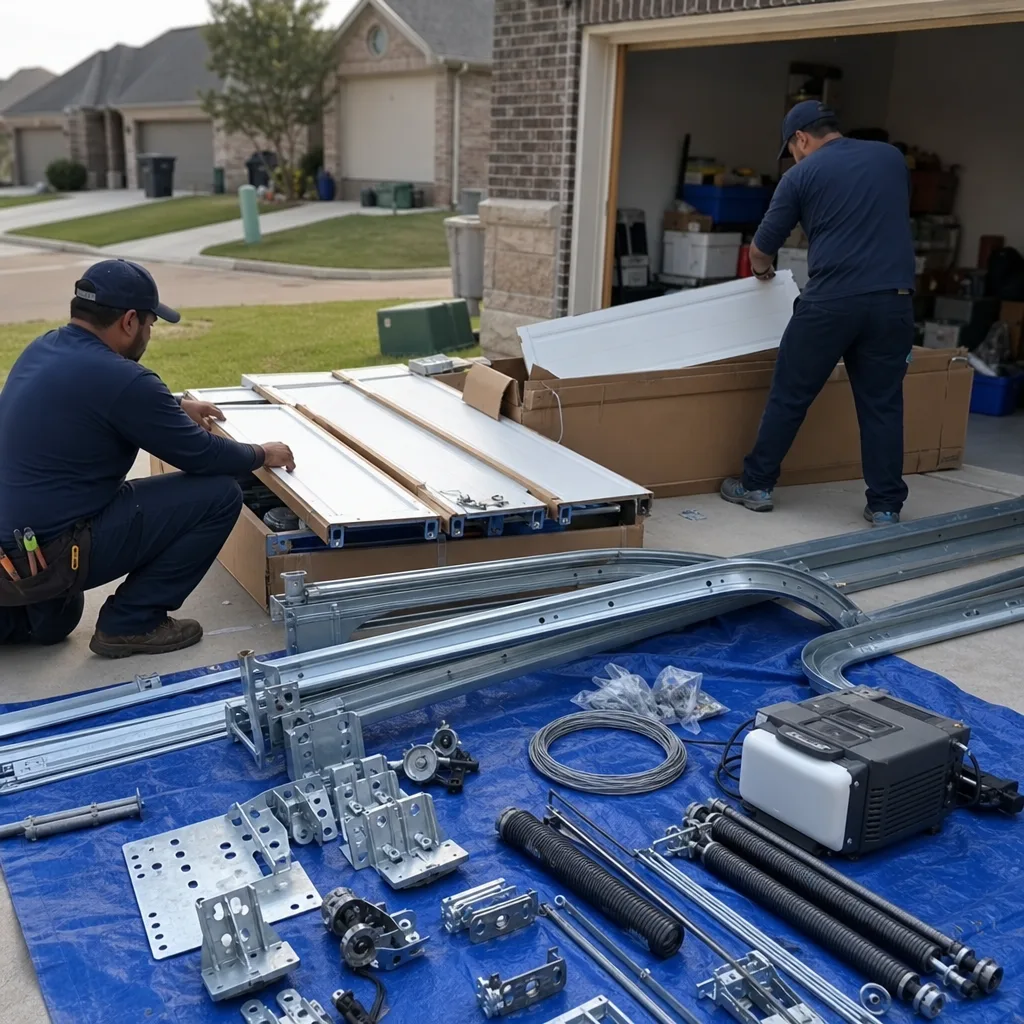
Yes, Texas City does not prohibit homeowner installation of garage doors. However, you cannot pull the required permit for a wind-rated installation, cannot obtain a TDI wind-storm certificate, and may face insurance denial if the door fails in a named storm. For these reasons, most Texas City homeowners use a licensed contractor for new door installation. Call (409) 797-6585 for a free estimate and written price.
Professional garage door installation in Texas City ranges from $1,400 for a basic 16×7 steel door to $2,800 for an insulated wind-rated door with full hardware and TDI certification. The price includes removal of the old door, permit pulling, installation, inspection scheduling, certificate delivery, and our documented photo record. We deliver the flat written price before any work starts, per Clause 1 of The Haven Standard.
Weather seal replacement, opener remote programming, safety sensor alignment, and roller replacement on extension-spring doors are safe DIY tasks if you follow manufacturer procedures. Torsion spring work, cable replacement, track modification, and new door installation should be performed by a licensed technician. The boundary is stored mechanical energy: if releasing a component could cause sudden movement, call a professional.
Probably not, if the door was installed without a TDI wind-storm certificate. Standard coastal Texas policies exclude damage from “improper installation,” which includes self-installation without required permits and certificates. The product can be wind-rated and the installation can be careful; without the certificate, the coverage gap remains. This is the specific risk Texas City homeowners face that inland guides don’t address.
Check for a TDI product approval label on the door’s interior surface, typically on the bottom section or track hardware. The label includes an approval number and rated wind speed. If your door lacks this label and you live in Texas City, it was likely installed before current requirements or was never certified. We can inspect and document your door’s status during any service visit.
We service all major brands including LiftMaster, Chamberlain, Genie, Clopay, Amarr, Wayne Dalton, Craftsman, and Raynor. Our technicians carry common parts for these brands on every truck, and we can source same-day or next-day for less common configurations. Every repair includes the documented photo record and the 365-Day Done Right Promise.
Yes. Bring us any written estimate from another garage door company and we’ll provide a free second opinion. No coupon or code is required. We’ll inspect your door independently, photograph what we find, and deliver our own flat written price. The comparison is yours to make. Clause 1 of The Haven Standard applies to every estimate we write.
The Bottom Line
The DIY vs. professional question for garage doors in Texas City is less about mechanical ability than about liability architecture. You can safely maintain your own door with basic tools and careful documentation. You cannot create the regulatory and insurance documentation that protects you when a wind-rated door fails in a named storm. For tasks that don’t require certification, DIY is sensible and cost-effective. For installation, spring work, and any job where TDI compliance matters, the professional path includes protections that no amount of careful workmanship can replicate. The flat written price, the permit, the inspection, the certificate, and the photo record are the value, not just the labor.
Written by Marcus Deller, Owner at Servo Garage Doors Texas City, serving Texas City since 2015.